Whether you are hosting a spring luncheon or Sunday family dinner, you will want to make these Quick Easter Bunny Shaped Rolls. These rolls are made from store bought frozen and thawed dinner rolls. Yeast dough is rolled by hand into a skinny rope and twisted to form the ears and body of the bunny bun. Once you get the hang of the twisting and shaping the dough, you will want to make several rolls. You will love making these rolls, especially when getting your kids involved. They will have a great time with you in the kitchen making memories. My inspiration came from the Rhodes Dinner Roll website.
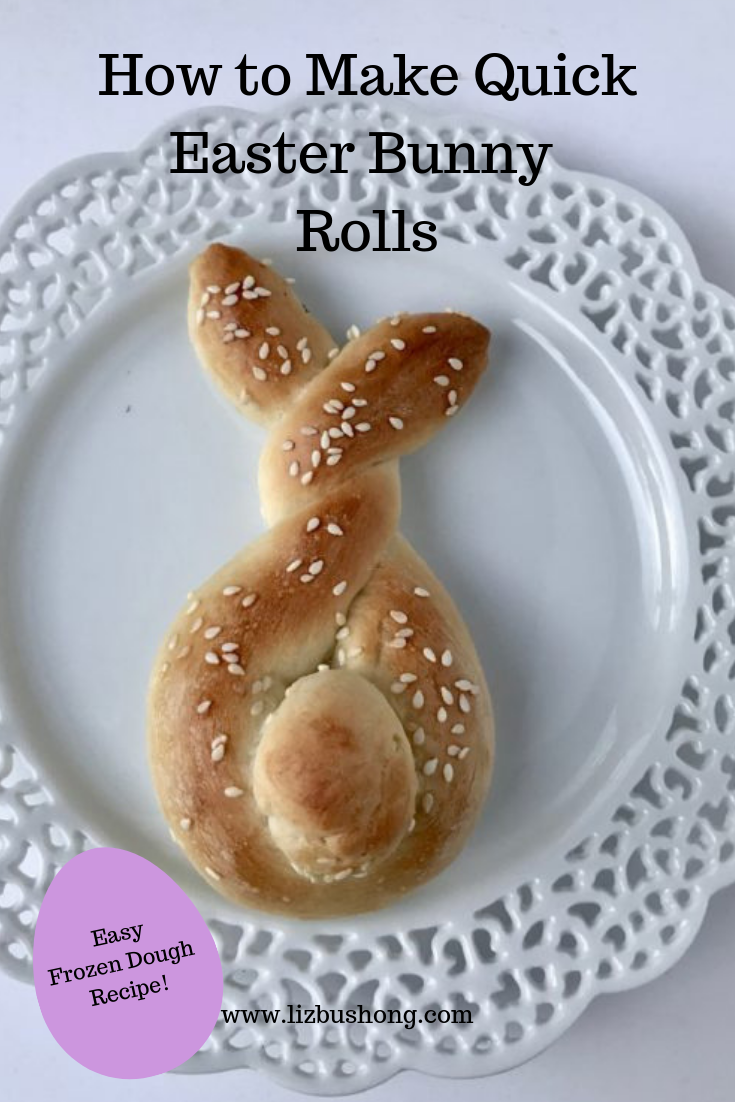
How to Make the Bunny Shaped Twist
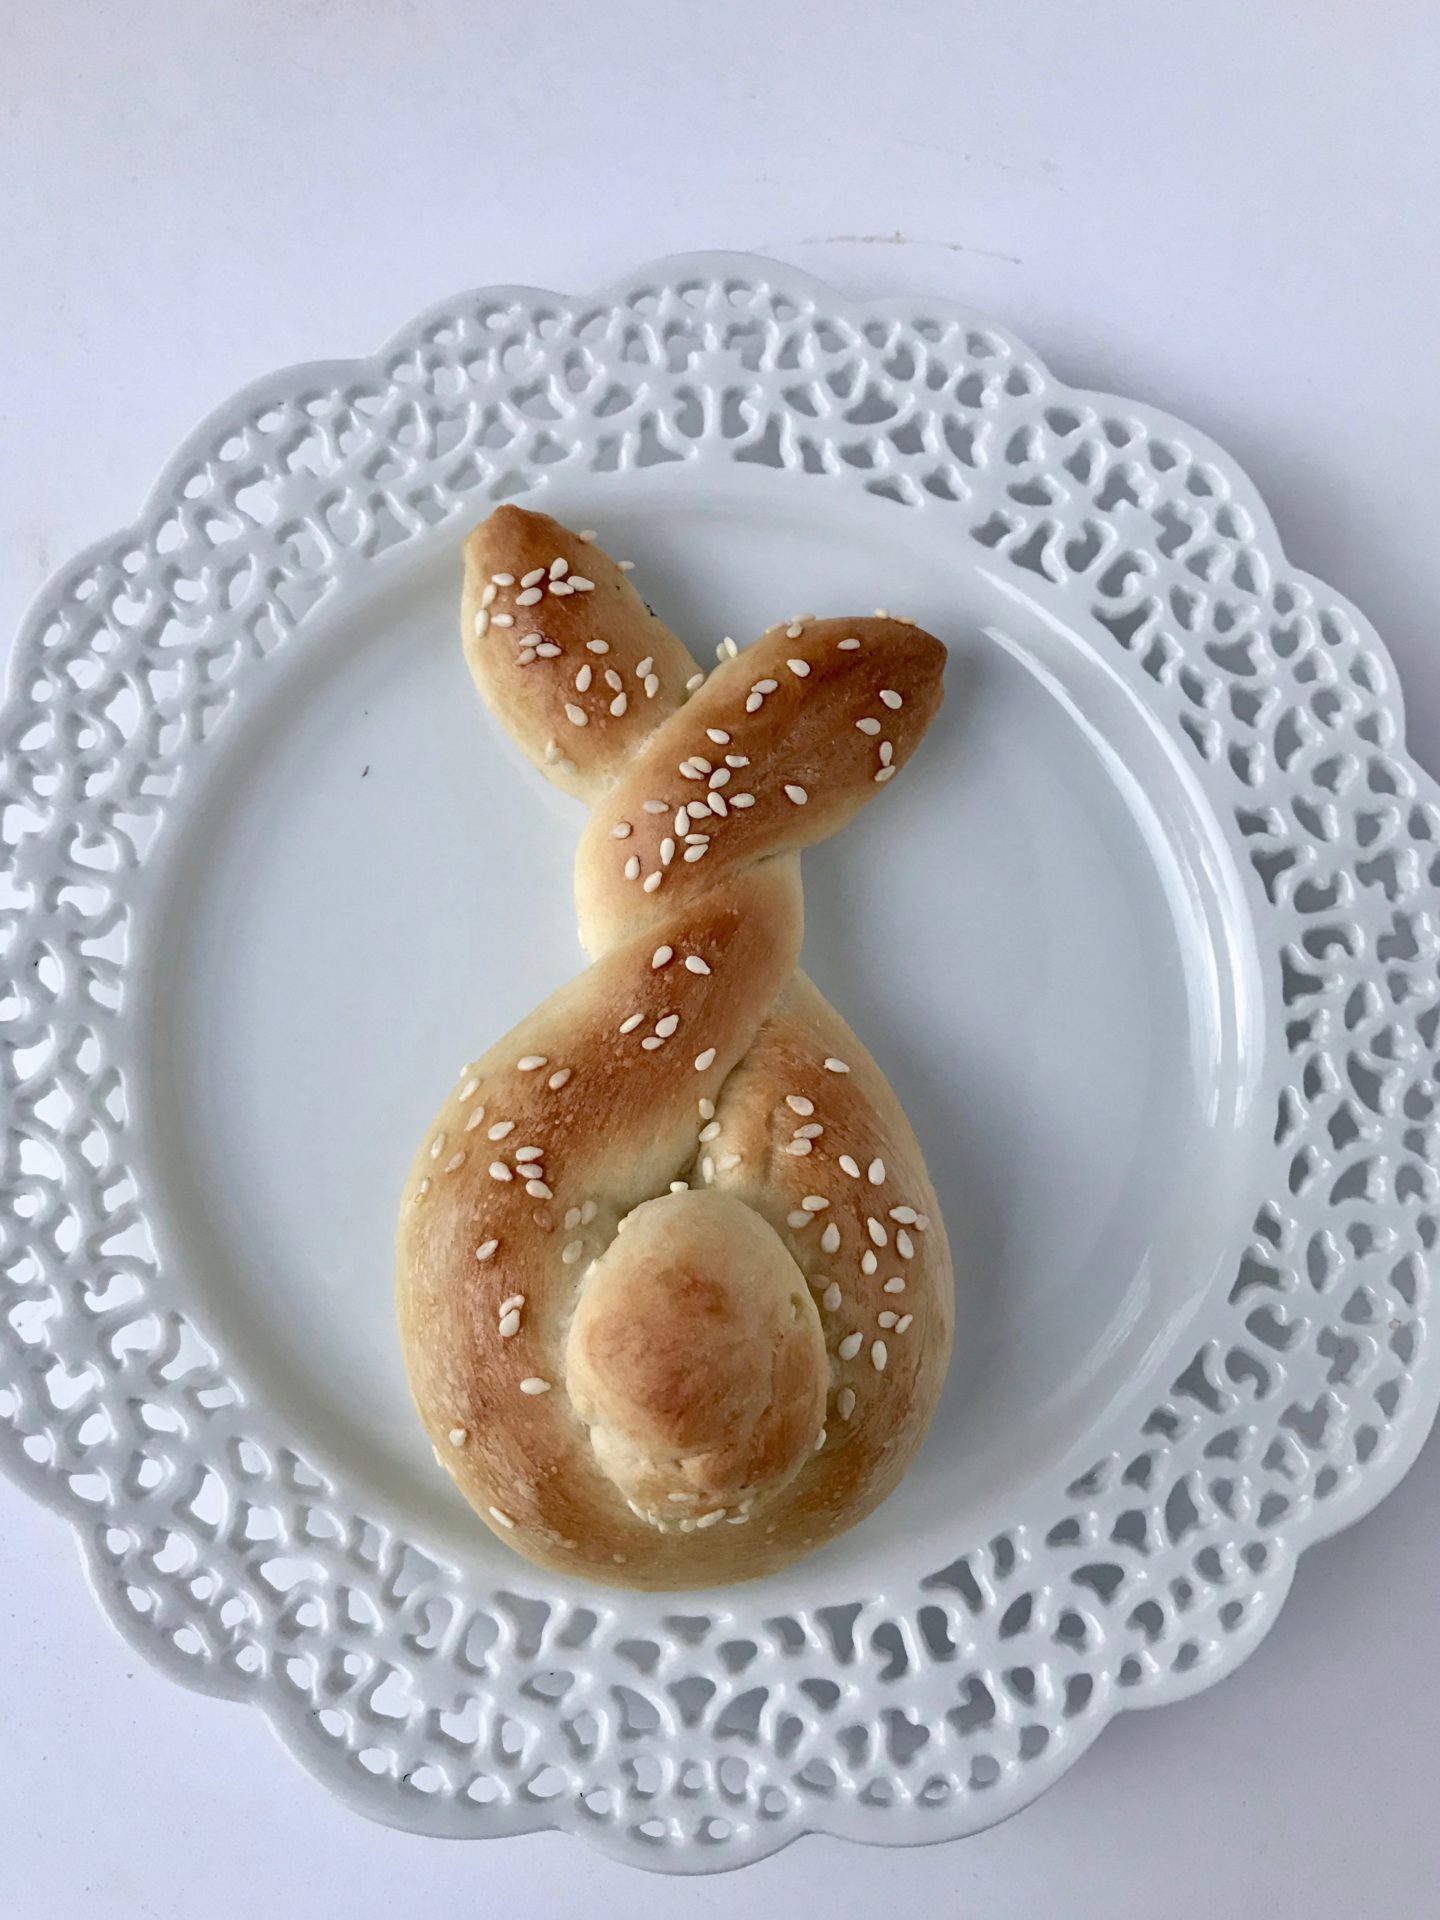
Start with frozen dinner roll dough thawed but still chilled. Pinch off a small amount of dough for tail and body, for body roll into a 12″ skinny rope tapering the ends of the rope to points. Pick up the rope and about 1-1/2″ down from ends of rope, overlap and twist the two ends together to form the body of the bunny. Place on parchment lined baking sheet, add small bunny dough tail to the body with water. Cover bunnies with plastic wrap. Be sure to spray plastic wrap with cooking spray so wrap won’t stick to dough. Allow to rise 15-20 minutes in warm place.
Preheat oven to 350 degrees. Remove wrap, brush rolls with egg wash and sprinkle with sesame seeds. Bake at 350 degrees for 12-15 minutes or lightly golden. Serve warm for best results.
If you want to make your own yeast dough instead of using frozen dough, check out this recipe.
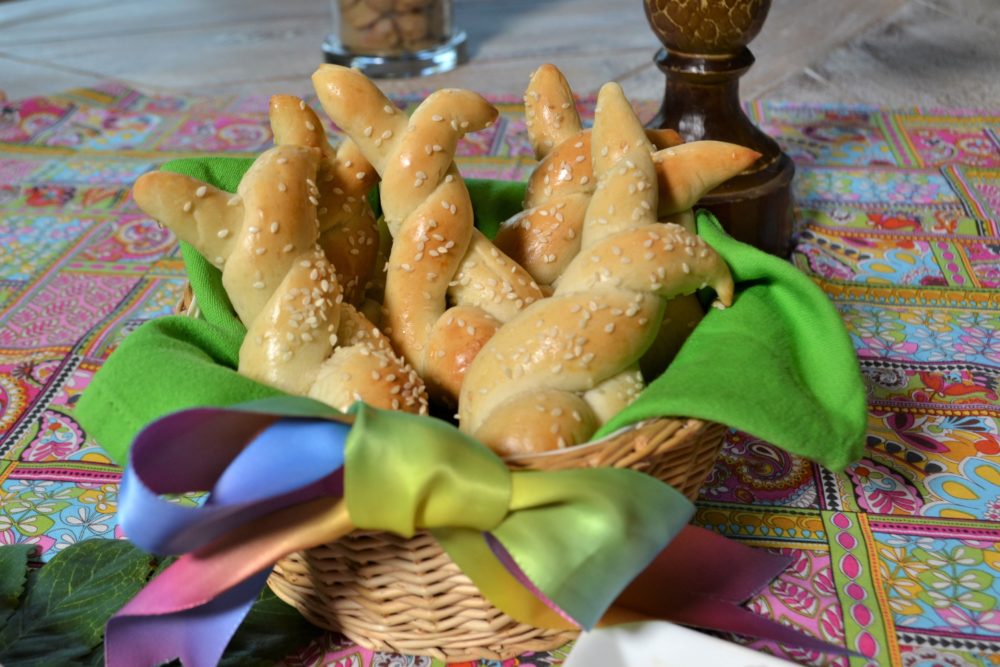
Fun bunny rolls in a pretty basket
Hope you will make these with your kiddos. They will love it and you will too. Enjoy! Here’s the recipe.
PrintHow to Make-Quick Easter Bunny Shaped Rolls
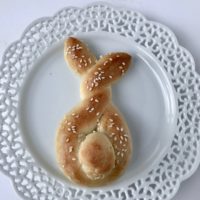
Inspired by Rhodes Dinner Rolls, these quick bunny buns are so adorable. Thawed but chilled dough is rolled into a 12″ skinny rope then twisted 2″ from the end points of rope to form a bunny body. A separate piece of dough is rolled into a small ball to form tail.
- Prep Time: 30 minutes
- Cook Time: 15 minutes
- Total Time: 45 minutes
- Yield: 12 dinner rolls 1x
- Category: Bread
- Method: Baking
- Cuisine: American
Ingredients
12 Frozen Dinner Rolls- tested Rhodes Egg Wash- 1 egg + 1 teaspoon water White Sesame Seeds
Instructions
- Preheat oven to 350 degrees. Lightly spray baking sheet with cooking spray.
- Thaw dough rolls 15-20 minutes at room temperature. Cover rolls with lightly sprayed plastic wrap during this process or use a tea towel. Rolls should be chilled when ready to roll.
- Pinch off a small amount of dough from each roll to form the bunny tail. Roll these balls into a round shape and set aside.
- With remaining individual rolls, roll each one into a 12-14″ long skinny rope tapering the ends of the rope to points.
- Pick up the rope and about 1-1/2-2″ down from ends of rope, overlap and twist the two ends together to form the body of the bunny. Place on baking sheet.
- Place an indention into the base of the body and attach tail with small amount of water.
- Cover bunnies with coated plastic wrap and allow to rise 15-20 minutes.*
- Remove wrap, brush with egg wash and sprinkle with sesame seeds.
- Bake 350 for 12-15 minutes.
- Serve warm as desired.
Notes
- Make sure you select frozen raw yeast dough rolls and not rolls that are pre-baked.
- You can substitute a frozen loaf of bread for the individual rolls if you can’t find the rolls, just cut the loaf in several equal pieces for shaping and rolling.
- If you have trouble rolling out the logs, allow the dough to sit a few minutes and then roll again. The glutens in the bread needs to relax more so you can roll out.
- Do not allow the rolls to over rise, they will lose their shapes during baking.
These can be served as a side for salads, in a large basket for a buffet table or at each place setting with a name place card. So cute and fun to share with family and friends. You can make and bake ahead, then freeze until ready to serve. But these are best served the day you make and bake them. You can only refreeze them after they have been baked. Enjoy!
Other Ideas you might like to try: