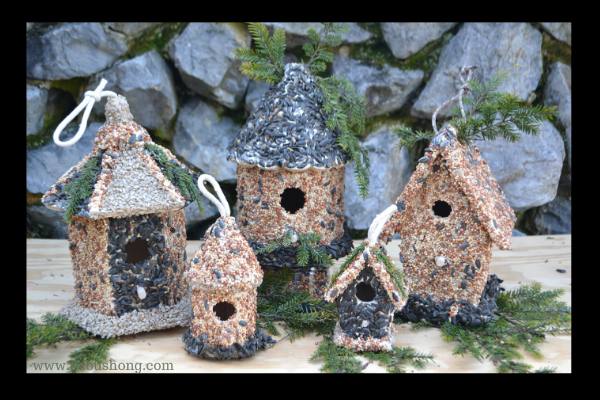
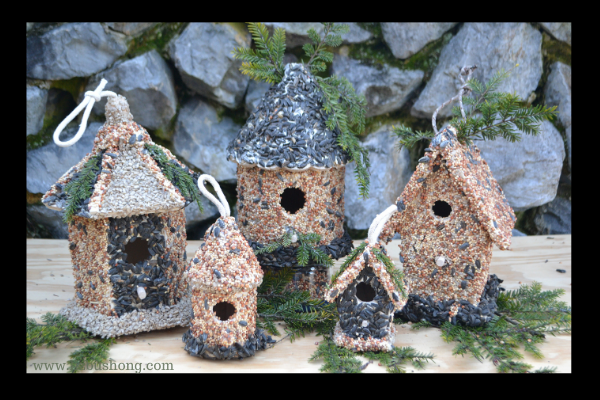
Create this DIY seed covered bird house village with wooden birdhouses and assorted birdseeds. Birds of feather as you have heard flock together. While this is true, other birds will gather around these cute houses covered in seeds. Since I live in the south we have bluejays, cardinals, Carolina gold finch, chickadees, morning doves, sparrows, and more song birds.
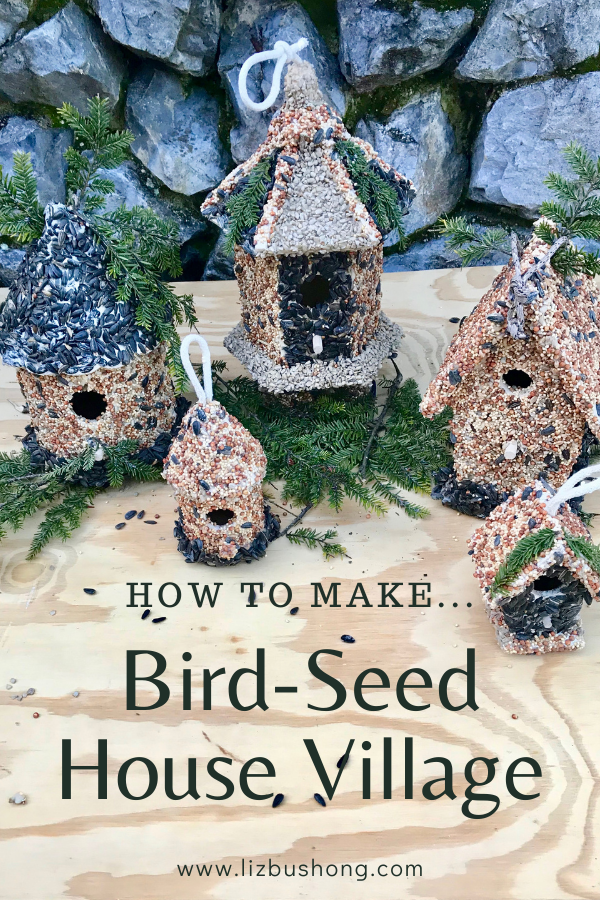
Since I have put out feeders many more have arrived to feast on the assorted seeds. Making these bird houses is a fun project and one everyone can do.
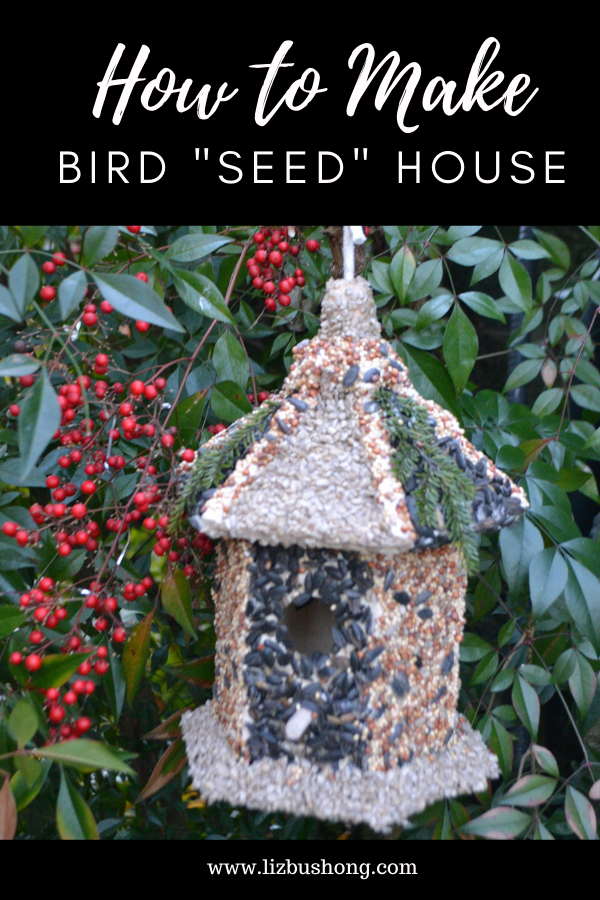
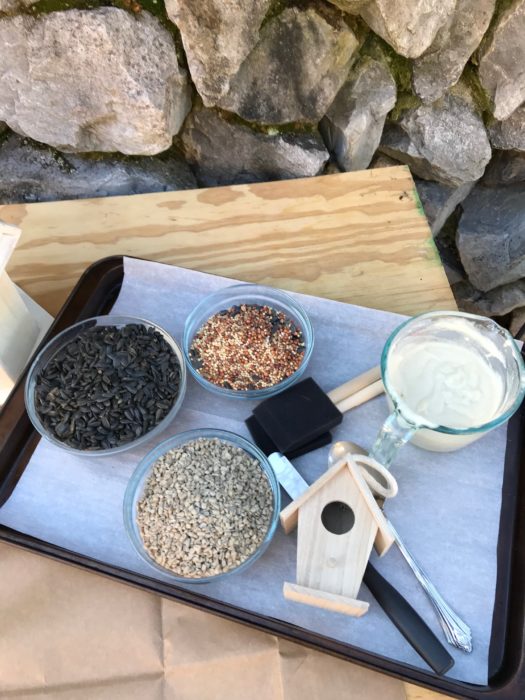
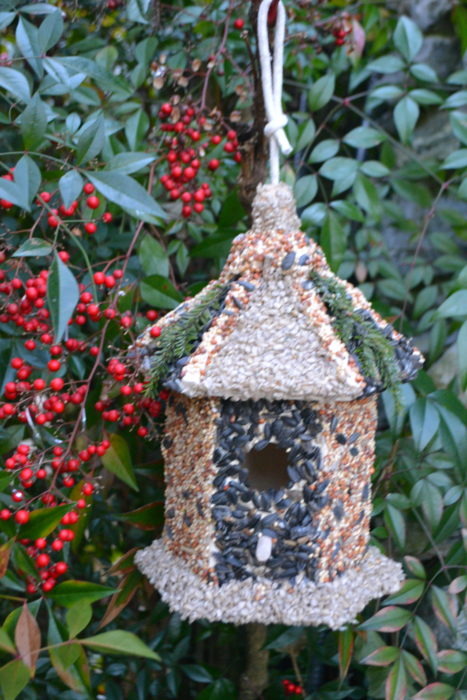
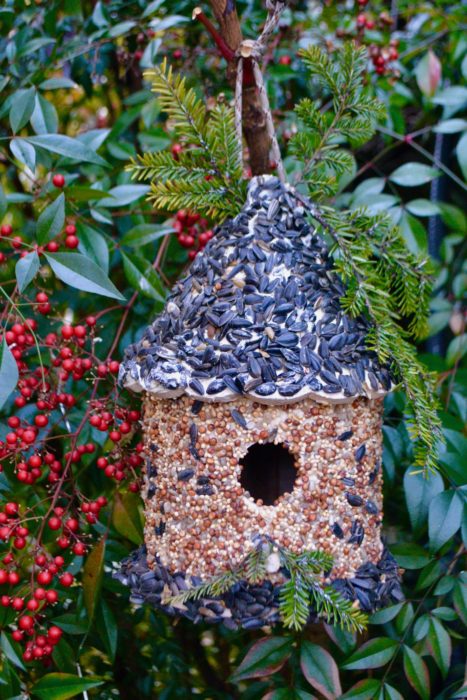
This was one of three large houses covered with edible glue and assorted bird seed. I selected three kinds of seeds, sunflower for larger birds, mixed wild bird seed and premium sunflower chips for smaller birds.
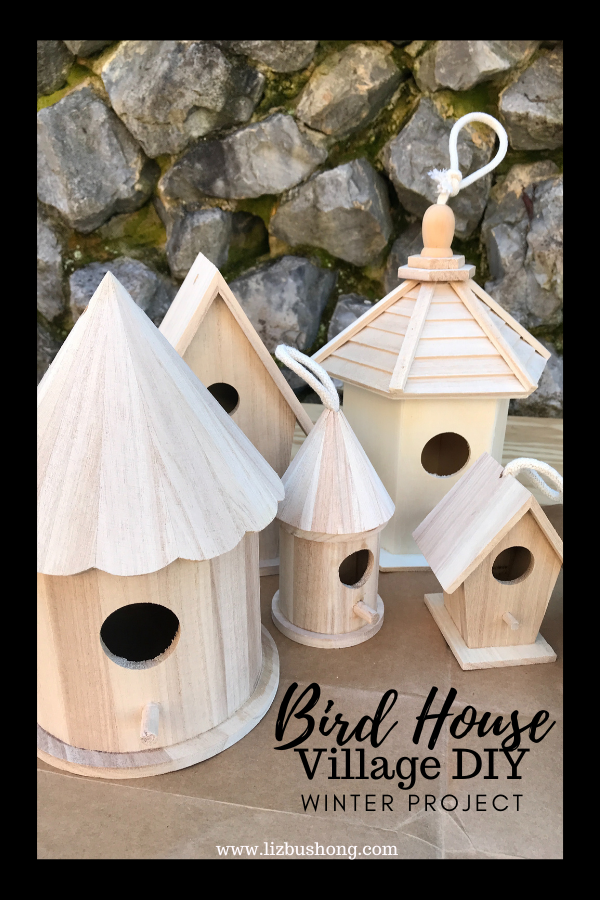
I found these cute little house at Michaels Craft Store ranging in price from 99 cents to 4.95. Most had hangers but as it turned out, I had to drill a couple of holes in some to insert roping.
How does the seed stick to the houses?
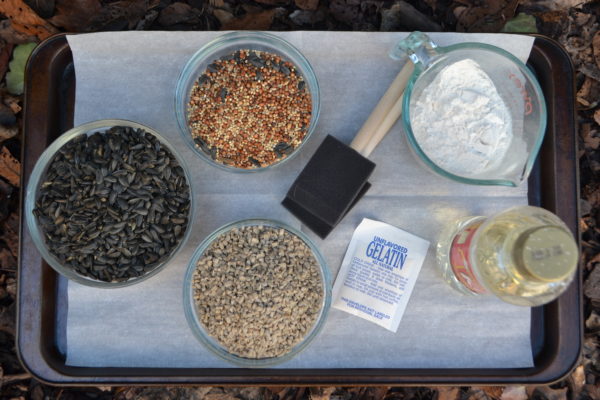
Edible glue consists of flour, water, corn syrup, and unflavored gelatin. Easy to mix and spread on wooden houses. I did not use the sponge brushes, the glue was too thick instead I used an off set spatula. That worked much better than paint brushes.
Recipe for the Edible Glue
3/4 cup all purpose flour
1/2 cup warm water
1 envelope unflavored gelatin
3 tablespoons light corn syrup
In glass microwave safe bowl or measuring cup, heat water for 50 seconds. Remove from microwave, add gelatin, and corn syrup. Stir to mix. Add flour to liquid. Stir until smooth.
That’s it. Pretty simple. It will thicken as it sits, if it does, just microwave a few seconds and stir. Apply glue to side of house with off set spatula or brush if you prefer paint brushes.
Applying Glue to Bird Houses
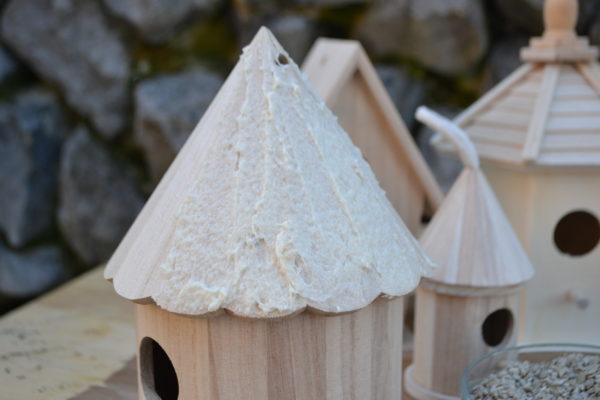
I started with the roof, but you start where you want. Brush or use spatula and spread small sections at a time the edible glue. Dip or sprinkle house with bird seed, repeat until entire bird house is covered. Be creative and add different seeds to different sides, top and bottom of house. Birds will hang upside down to get seeds off the bottom… so will squirrels. LOL
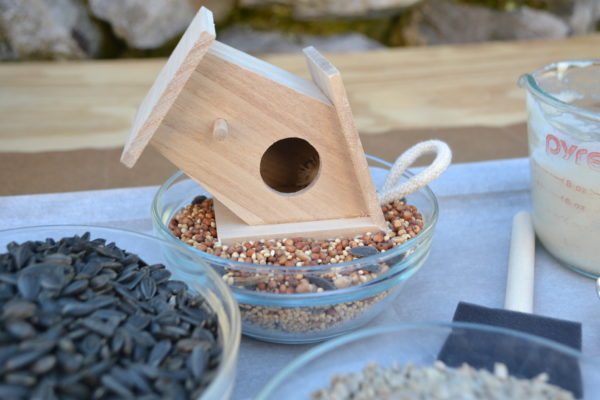
This bird house did not have a hanger, so we drilled holes on both sides of roof to add small roping. Tie a square knot at the end of the roping to ensure the hanger is secure. ( these larger houses squirrels will have a difficult time carrying off). Yes, I had a squirrel that toted off two of my small birdhouses.
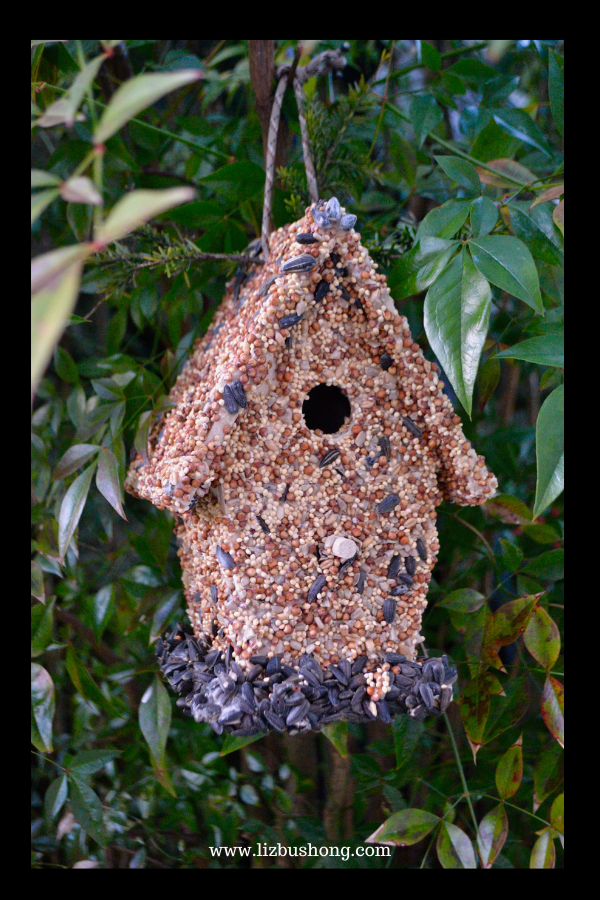
Tip: To cover 3 large house and 2 small ones I made three batches of edible glue. If you have glue left over, coat pinecones and sprinkle with seed, as seen in photo.
Tip: After house is completely covered allow it to dry for 24 hours before hanging outside. If rain is in the forecast during the time you are making your house, wait to hang until rain passes. However, after your house is dry and hardened you can hang in the rain or snow.
Hang in trees. Tip 2: Don’t use ribbon to hang, squirrels can bite that right off and take your cones. I had that happen too. Pesky squirrel.
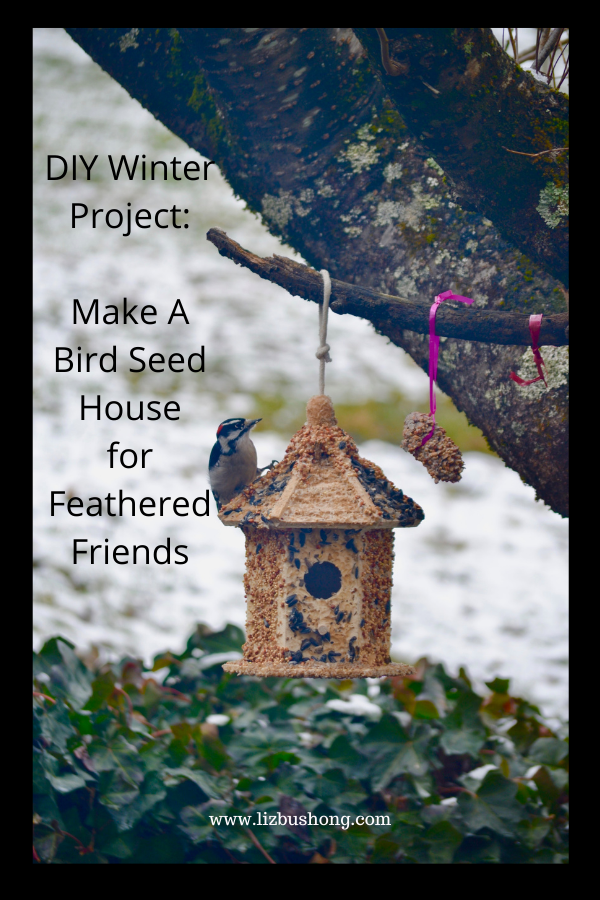
This is one of the small houses the squirrel took to his nest. He bit off the hanger and away he went with my cute little house. Ha Ha.
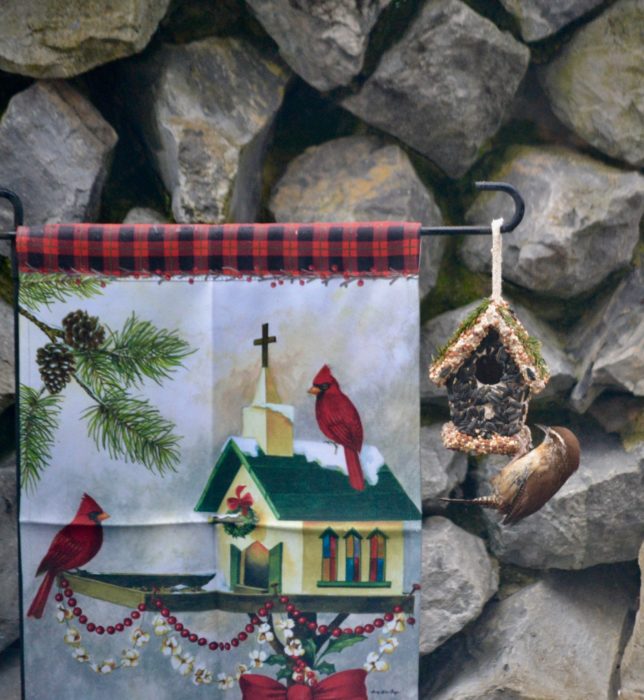
We had just had snow so I put this feeder on top of my table, instead of hanging in a tree. This does have a hanger but it is covered by the evergreen sprigs.
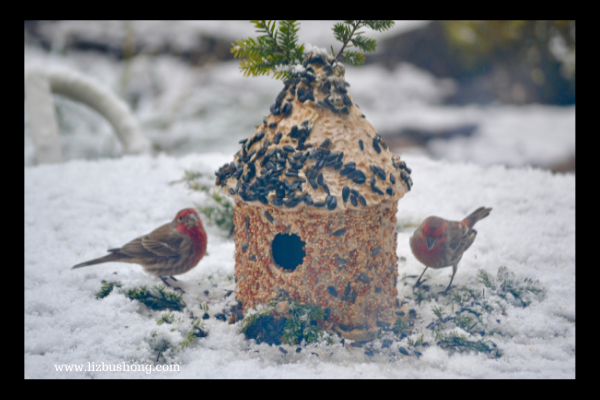
Want to see my pesky squirrel?
He is so cute.. and worked so hard to get the house… I had to let him have it. The house was in my hemlock tree at the top of our water feature landing. So the squirrel bit off the hanger and carried the house down 15 steps… I was able to capture a couple of photos of his great steal. LOL.
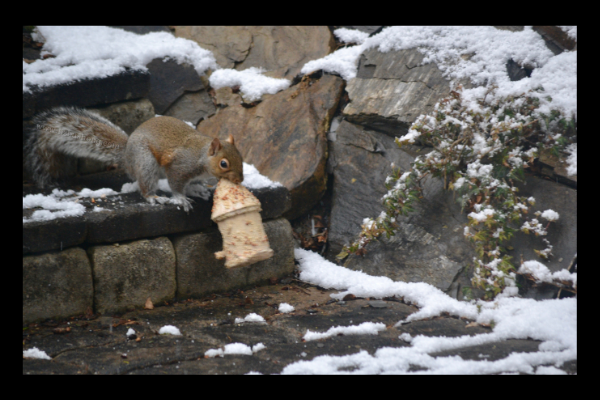
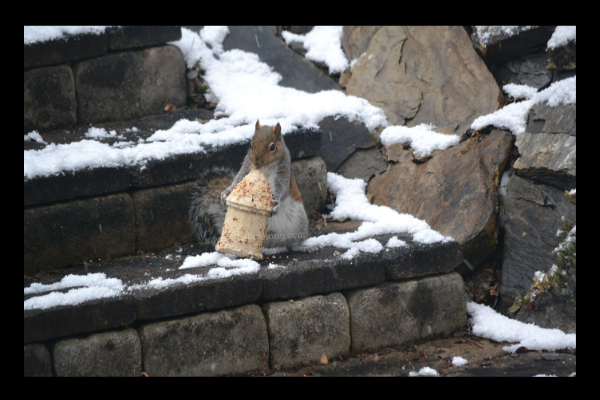
This is my favorite picture. He has both hands on the sides of the house and top in his mouth trying so hard to pick it up!
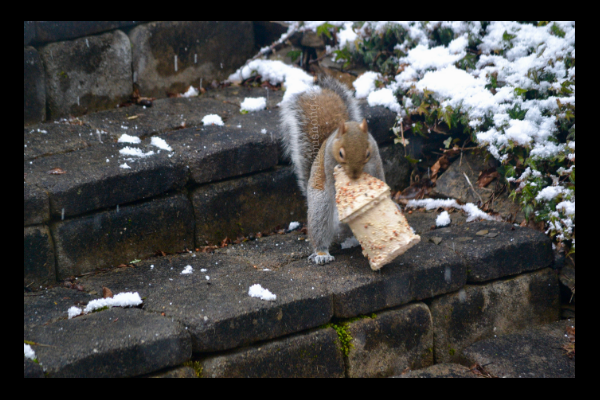
Ok… He said… “I think I can, I think I can.. yes… I got this now!”

There He Goes! Down three more steps and across my patio and street to his nest. Crazy! It was fun watching. Like I said, he worked so hard to get this house,…I couldn’t stop him in the process. Sparing 99 cents for the bird house was worth losing for his happiness and my entertainment. Ha Ha.
Hope you enjoyed this DIY Project! Let me know if you make some. Kids will have a ball creating these. I know I sure did. xo Liz
These houses were inspired by Home is Where the Boat Is blog.
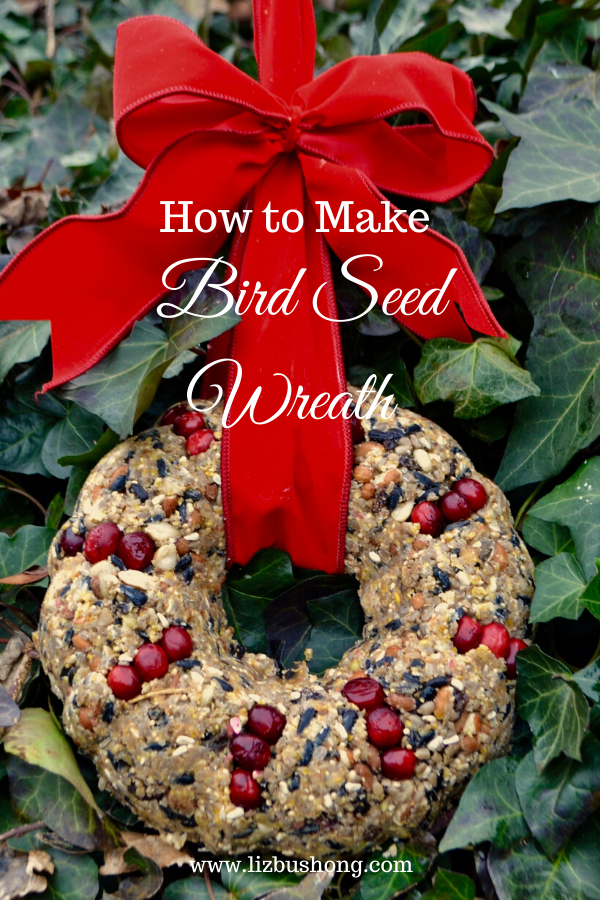
Other winter ideas you might like to try:
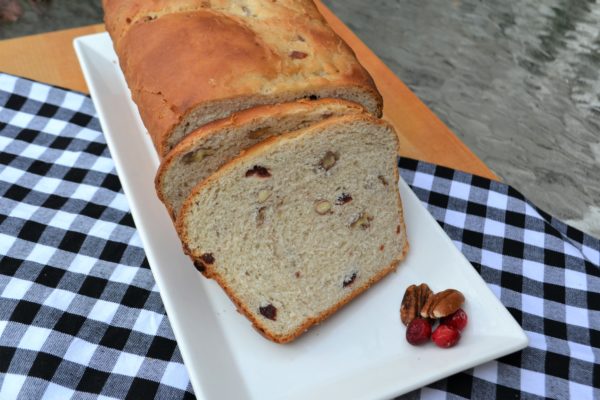
Cranberry Pecan Yeast Bread Loaf

Absolutely awesome…thank uou
I’m going make this tomorrow with grandson he will love it thanks for sharing. Shirley
Sounds wonderful! xo
We would like to make these for Christmas gifts. How long will they stay good inside before giving them as gifts?
I would keep them flat, in a very dry and very cool place. Not in a covered container. The longer they have to air dry/harden the better. Hope that helps. Happy Creating!
Can you save any leftover “glue” for another house another day?
Hi Maureen, I think the glue would harden but feel free to try it and let me know? I didn’t have enough glue left over for I made several at one time.
Let me know what you decided to do and how it turns out if you store the glue. Maybe chill it in covered container then slightly microwave it to make it smooth again??
Thank you for this great idea!!!!! I can’t wait to make them with my grandchildren.
I am so glad you like it. Have a great time with your sweet babies.