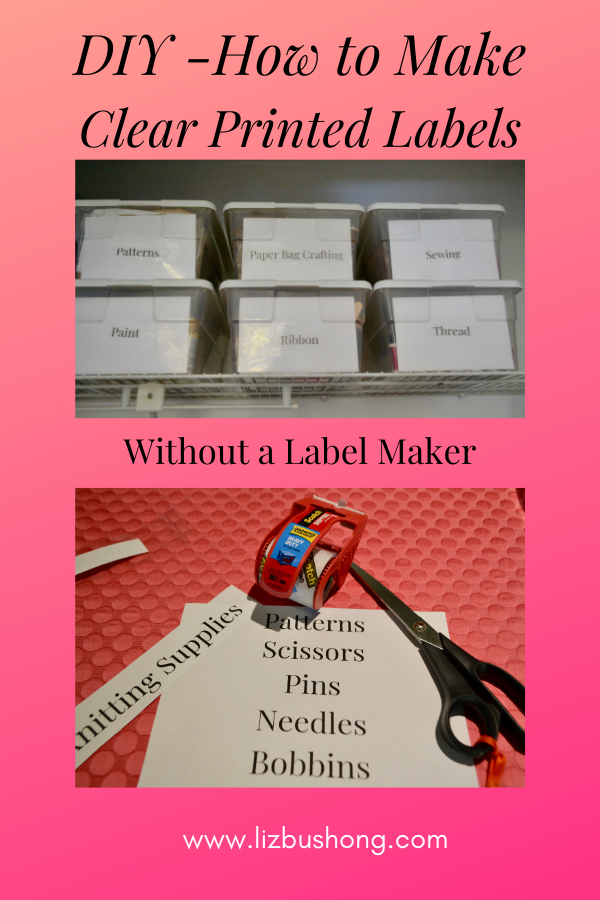
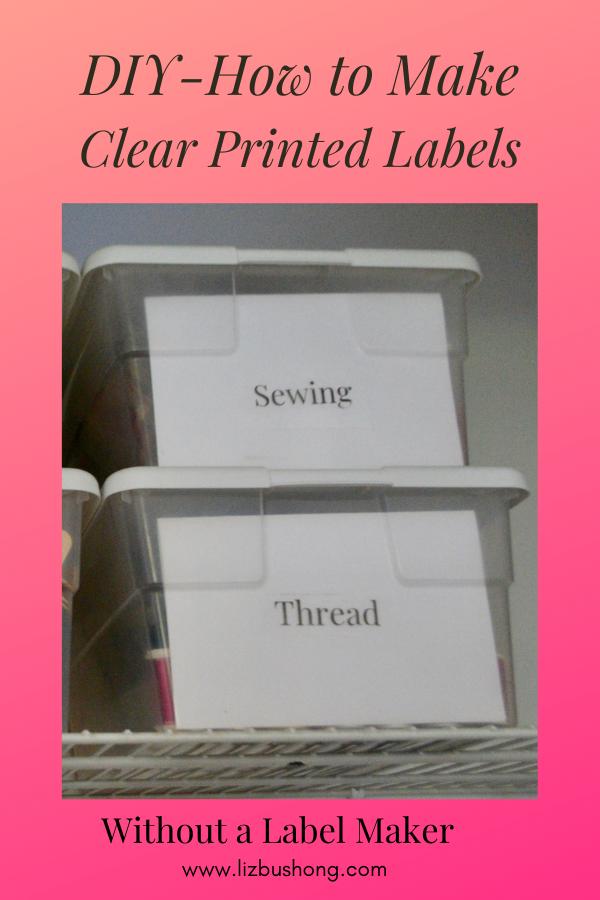
Need a few labels and you don’t have a label maker? This DIY on How to Make Clear Packing Tape Labels takes moments and makes great labels. Spring cleaning always makes ya want to organize and label things. From kitchen pantry staples to craft supply room these labels will make your organizing tasks pretty and practical.
 So what do I need to make Packing Tape labels?
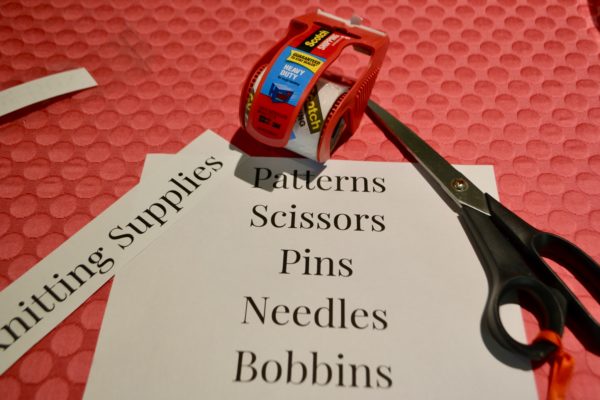
Simple put, all you need is heavy duty packing tape, scissors, word document with printed ingredients or for content of your containers, a wooden spoon and bowl of warm water. Yes, that is it.
Follow these easy steps to making labels with out a label maker.
- Create font and words on document and print on 8- 1/2″ x 11″ copy paper.
- Cut words apart with scissors. Words should be no larger than 2″ tall. The tape is 2″ wide so your words need to be anywhere from 1 to 1-1/2″ tall or size you need to fit your container.
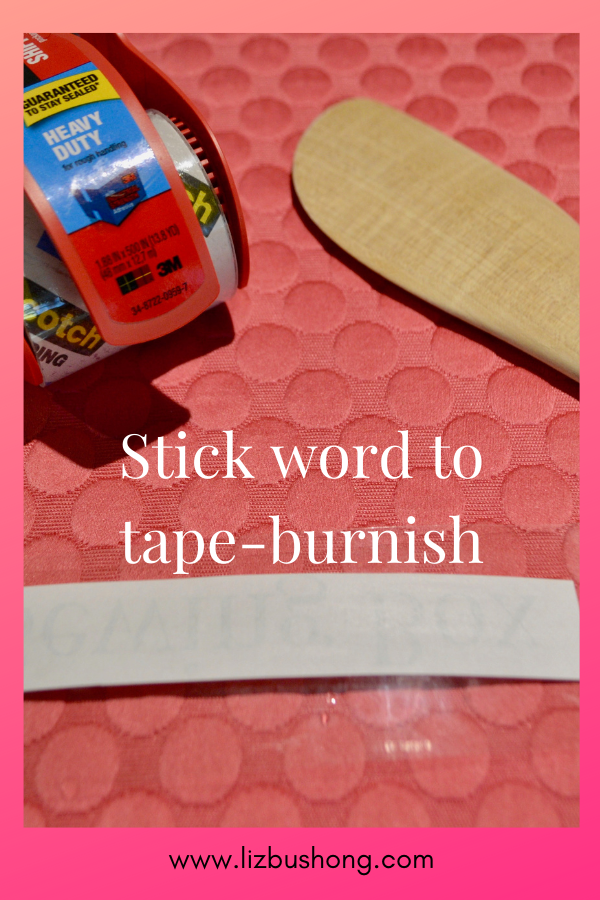
3. Cut a piece of tape 1/2″ longer than your word, lay word on flat surface facing you. Place the cut piece of tape over the word, press to surface to join.
4. With back of wooden spoon burnish or rub gently the word to the tape. Make sure you rub firmly but not roughly so the print will come off onto the tape. You won’t know if the word is off on the tape until the reveal. But go back and forth of each letter to make sure it is well burnished.
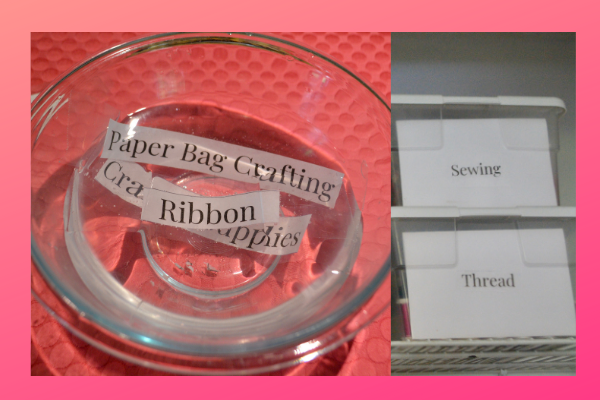
5. In a large mixing bowl filled with very warm water, not boiling but very warm, place the tape and burnished print into the water. Within a few minutes the paper will release from the tape. If it doesn’t release, rub the paper off with your fingers after 2 minutes. ( if the water is warm enough the paper will release on its own).
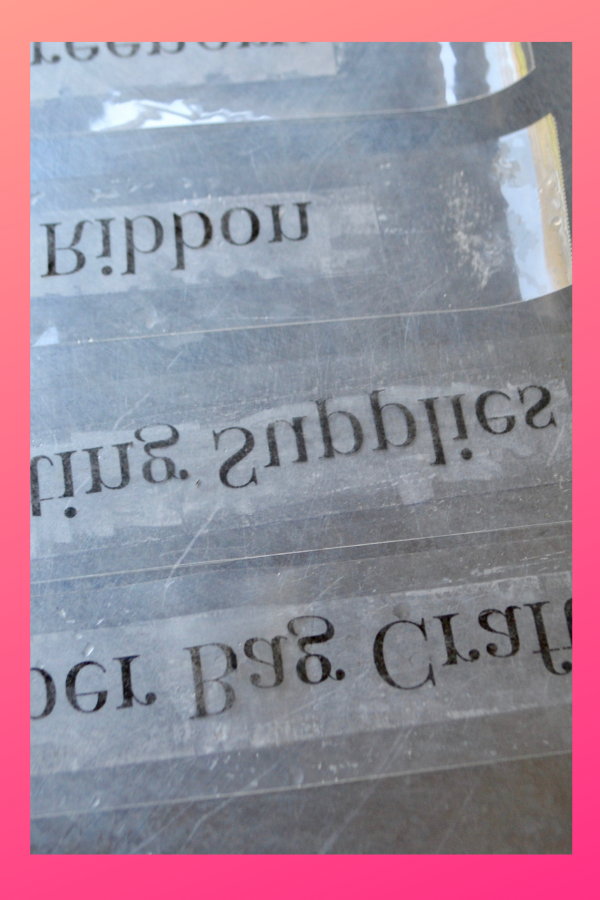
6. I used a baking sheet to make all the tape and words at one time, burnished them all then dipped a few at a time in the water to release. That is why you are seeing the photo upside down tape/words.
What is amazing…you are getting the tape wet, but after the label dries the tape will stick perfectly! It is so much fun!!!
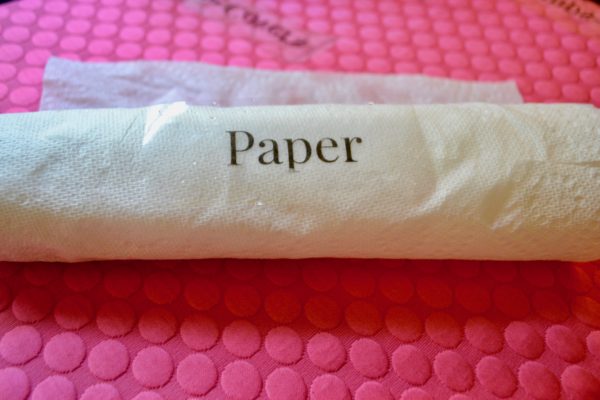
7. Using a paper towel pat the tape and word dry. Lay the new label aside to completely dry before adhering to container.
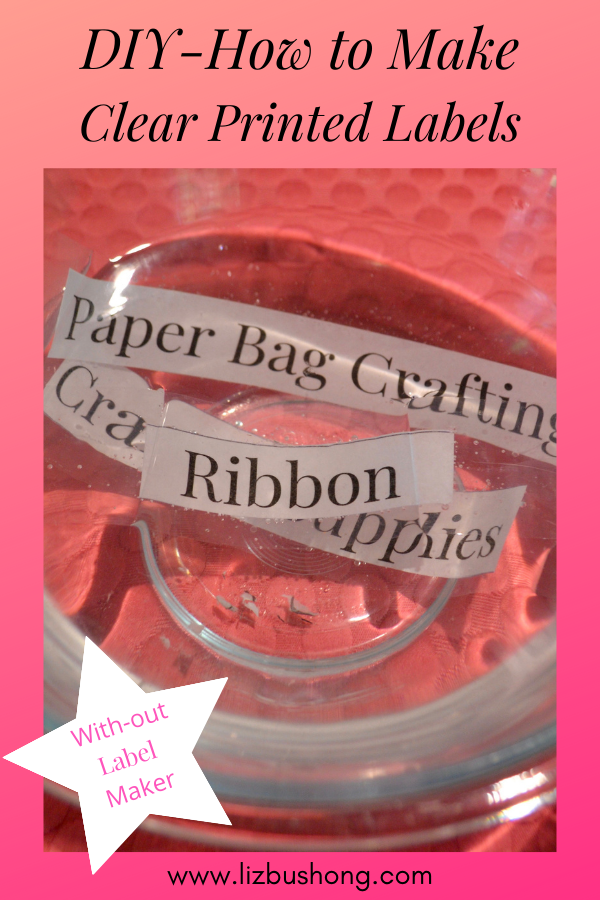
8. Attach the labels to your containers. Because these labels are clear, you may want to put a piece of card stock or paper inside the container unless it is dry baking ingredients, as shown in photo below.
Ta Da! You just made a few labels with out a label maker with simple tools you probably have at home.
Hope you enjoy this easy DIY. Just helping you make your organizing easy.
Other ideas you might like to try: