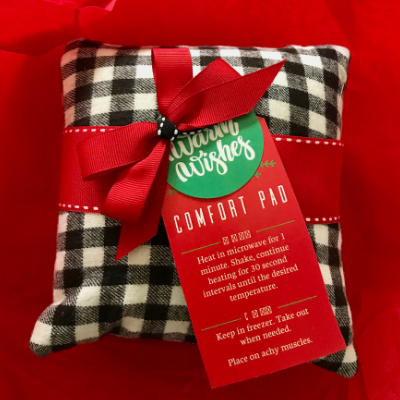
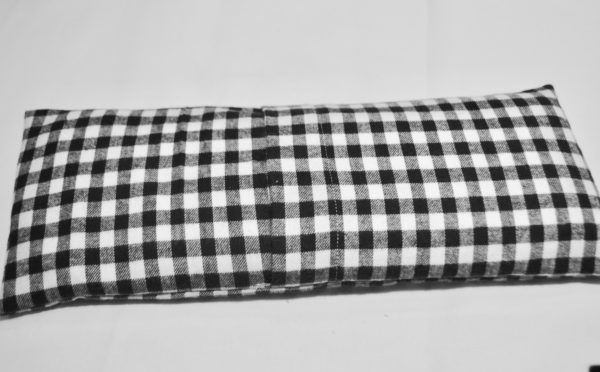
Any time you have a muscle ache or just need a relaxing moment, pop this scented little bag in the microwave for 60 seconds. Scents of peppermint will enliven your senses, and every little ache will be … a distant past. Filled with long grain rice, scented with peppermint essential oil stuffed in black & white plaid flannel cover. The bag can be heated or frozen for fast relief of mild discomforts.
Whether sending these as gifts or making one for yourself it is a wonderful remedy for minor aches and pains. It’s really a perfect gift.
Makes the best gift.
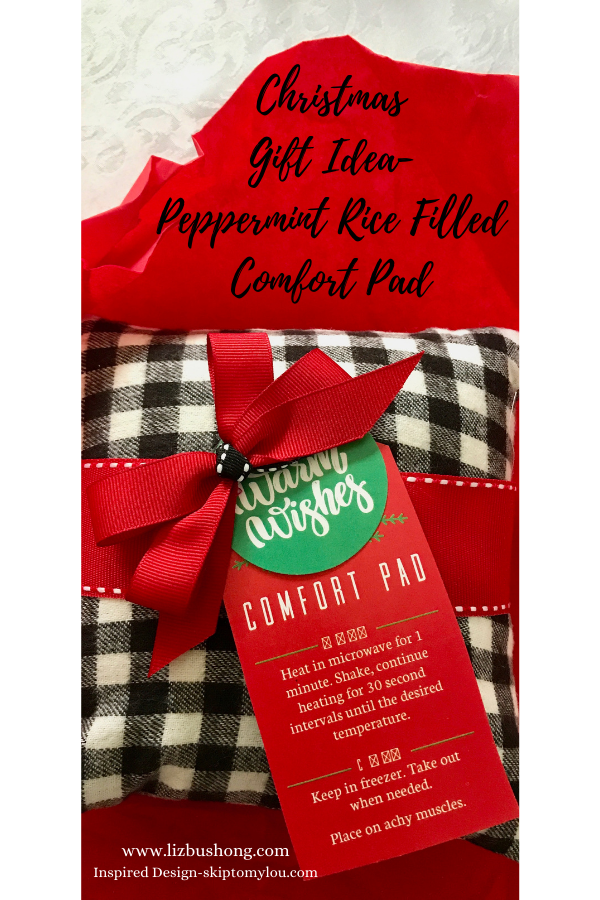
Comfort Gift Tags to Download
Inspired by skip to my lou website, I made several for Christmas gifts. I adapted her technique and ordered her beautiful tags. Here’s the link for her tags if you want to order and download. Well worth the money to save time.
Office Max to the rescue to save ink.
Because of the layout of the tags I was able to get three to a card. I had Office Max copy my tags for it uses a lot of red ink, if you use this particular tag. There are many options when you purchase her set.
On the back of the card I glued the special poem that comes with the tags so that all the information was on one tag. You will need a round whole punch for the circle ” Warm Wishes”.
How to make the rice bag.
To make one bag you will need the following:
1 dram Peppermint or other scent essential oil-used Lor’Ann Essential oils .
1 yard 44/45″ wide of lightweight flannel- no bulk or pilling. (one yard will make 6 bags)
1 yard of muslin 44/45″ or cotton fabric for inner bag that holds the rice. (one yard will make 6 bags).
Thread to match flannel.
Rice- long grain- 7 cups per bag- purchased Uncle Bens for one bag, but sam’s club 25 pounds for multiple bags ( $9.95) I made 15 for Christmas. Do not use instant rice.
Velcro squares with adhesive for closure- optional.
Decorative grosgrain ribbon for wrap around and bow- 1/2 yard per bag + 1/2 yard for bow.
Gift Tags-with poem, directions. Download here.

Tips about Lor’Ann essential oils.
I used Lor’Ann oils, they are food grade. Not that you will be eating this rice every again, but it is a strong peppermint and will uphold heating and freezing well. You can not use peppermint extract for baking… not strong enough for continued use.
Let’s get going- Making the comfort bags
For each bag you will cut one:
6″ wide by 34″ long for the muslin inner pouch (for rice).
6″ wide by 36 ” long piece for the flannel outer over.
How to make scented rice
In large bowl with a lid if you have one, or zip lock gallon size bag, fill with 7 cups of long grain rice. Add two -three drops of peppermint essential oil. Seal container or bag and shake rice to coat.
Holding open end of muslin bag, fill with the 7 cups. Sewing instructions below step 4.
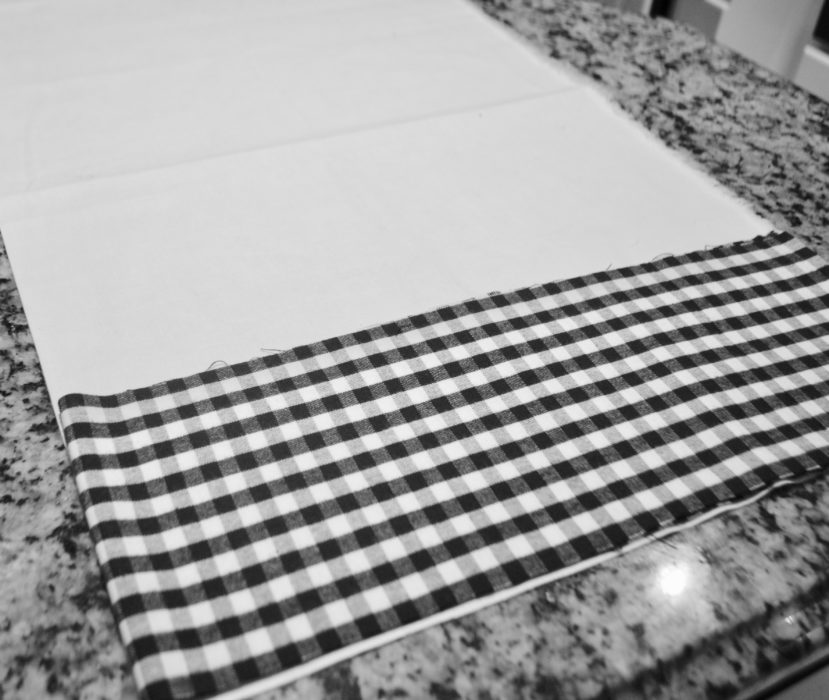
Step one: Cut flannel piece or face fabric, 6″ wide x 36″ long. I purchased 44/45 ” wide flannel, keeping the flannel folded as in above photo- you can cut your pieces straight across. Once all pieces are cut for the number of bags you plan to make, open each piece and cut to length 36″. One yard will give you 6 bags.
Making the Inner Rice Bag.
Step two: Repeat the cutting process for 1 yard of muslin inner bag that holds the rice. This time keep the muslin folded in half as it comes on the bolt, and cut 6″ wide x 34″ long. You will get 6 inner bags.
Step 3: Grab your sewing machine and thread. With right sides together for the muslin inner bag ( that holds the rice), keeping pattern folded in half with fold of fabric facing you. Sew the two longest length sides of bag 1/4″ seam allowance. Leave open bottom of inner bag for this is where you will fill with scented rice. Turn bag inside out so the stitching is on the inside.
Step 4: Fill inner bag with scented rice. I used 7 cups of rice for I liked a fuller feel. Fold under open end of bag 3/4 ” and sew across end to seal bag. I did two rows of stitching on this end.
Making the Flannel Cover
Step 5: Easy to make flannel cover.
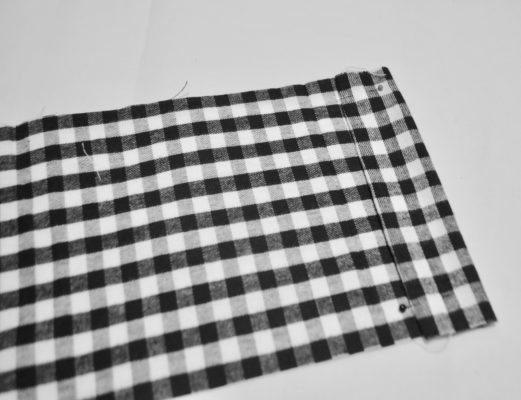
Open 6″ wide x 36″ long flannel piece with right side facing your counter surface. On each end fold under 1/4″ , press with iron and stitch. Next fold over 1-1/4″from the stitched edge and sew on the edge. See upper photo where pins are. Repeat with opposite end.
Step 6: Take both ends as in photo below, and bring to the center. Take the right section and fold over the top of the left section. Next photo.
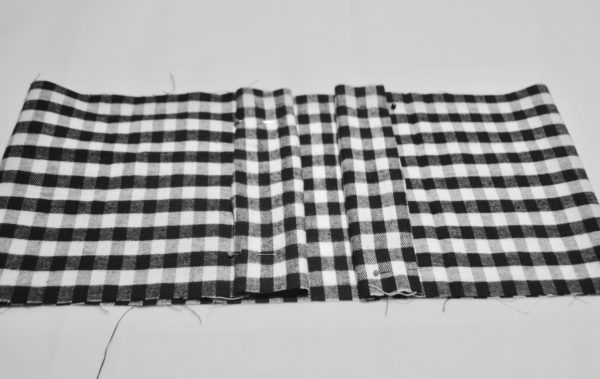
These two pieces are stacked on top of each other. Line up the plaid if you are using plaid flannel, pin in place and stitch on both sides of the bag, sewing over the center pieces you folded and stitched.
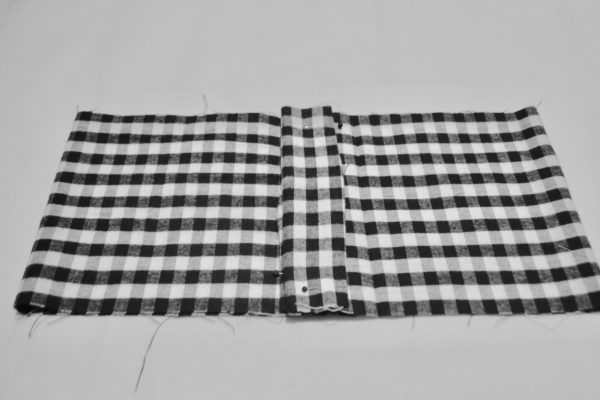
Insert the rice bag.
Step 7: Ready to insert muslin bag in cover. Turn stitched bag inside out so sewn edges are inside the bag. Tip: You might double stitch the edges or serge the edges, for this cover can be washed as necessary and you would want to make sure it doesn’t come apart. I used a small stitch.
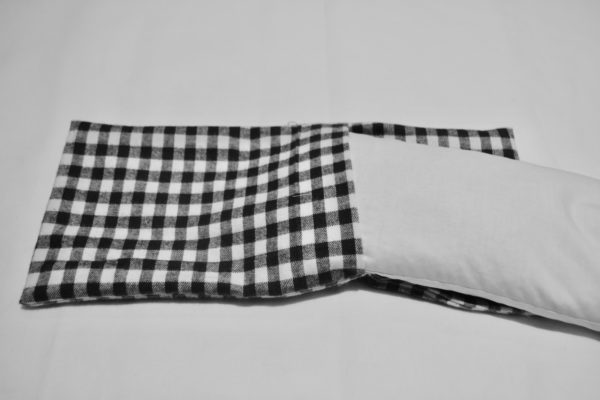
Step 8: Insert inner rice bag into one side of the flannel cover, pushing the bag to the ends of the outer cover. It is a bit tricky but you can do it. Insert the opposite end, adjusting the rice evenly through out the bag.
Step 9: Apply velcro to folded opening if desired. I used adhesive sticky velcro for my closure. But it isn’t necessary unless you have used more than 7 cups of rice.
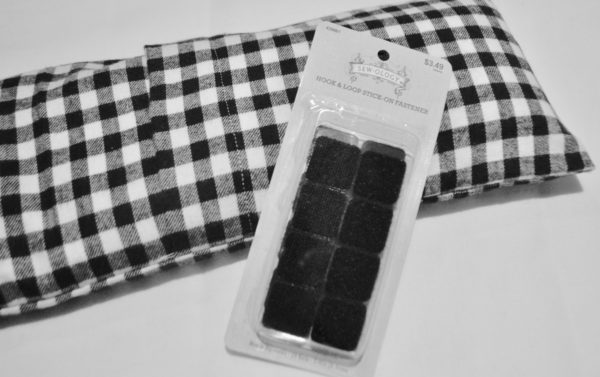
Adhesive velcro makes it no stitching for an enclosure. It is optional.
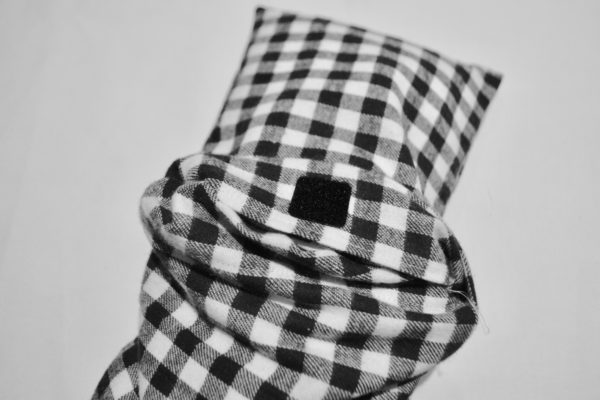
There is a fuzzy side and a loop side to velcro. Use one on each side of cover.
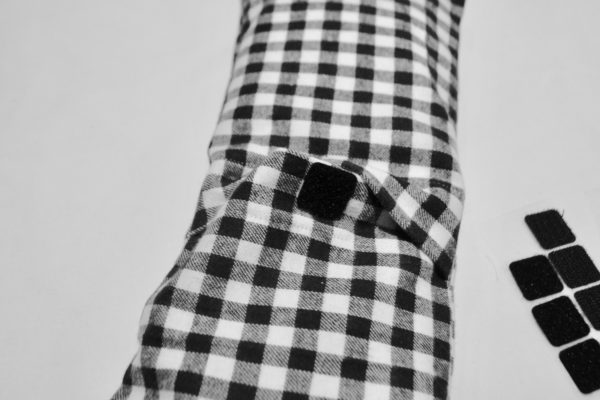
All sealed, next step is to add ribbon and tags.
Step 10: Fold the finished bag in half, adjusting rice for a flat surface. Wrap 2″ wide grosgrain ribbon around the bag, use double sided tape to seal ribbon.
Tip: I used double face tape on the ends of cut ribbon to get rid of loose threads, folding the ribbon end over on itself. Makes a cleaner presentation. I also used a coordinating smaller 1/4″ wide ribbon to tie around the center of the bow. The ribbon was grosgrain about 5″ long, tied a knot in the middle of ribbon and wrapped around center of bow, tied and clipped ends so you couldn’t see tails on front of bow. Using a glue gun is also helpful with this added ribbon detail.
Make Decorative bow- to make bow: Using 1/2″ wide flat ribbon, make 4-5 loops, with needle and thread, insert needle into center of loops, pull thread tightly to pull the bow together in the center. Wrap the thread two or three times around the center and tie off with a knot, clip thread. Adjust loops to create a flat full bow. Add knotted center ribbon.
Use double face tape to secure to package after you add the tags. Use tape to attach tags too.
Yeah! One down and ??? to go!!! I made 15! My dining room smells so good!
Thanks for reading and subscribe to lizbushong.com to have each post delivered straight to your e-mail box.
Liz xo
Other Ideas you might like to try: Tap on photos to go to links.
Gingerbread Cookie and Candy Big Board

