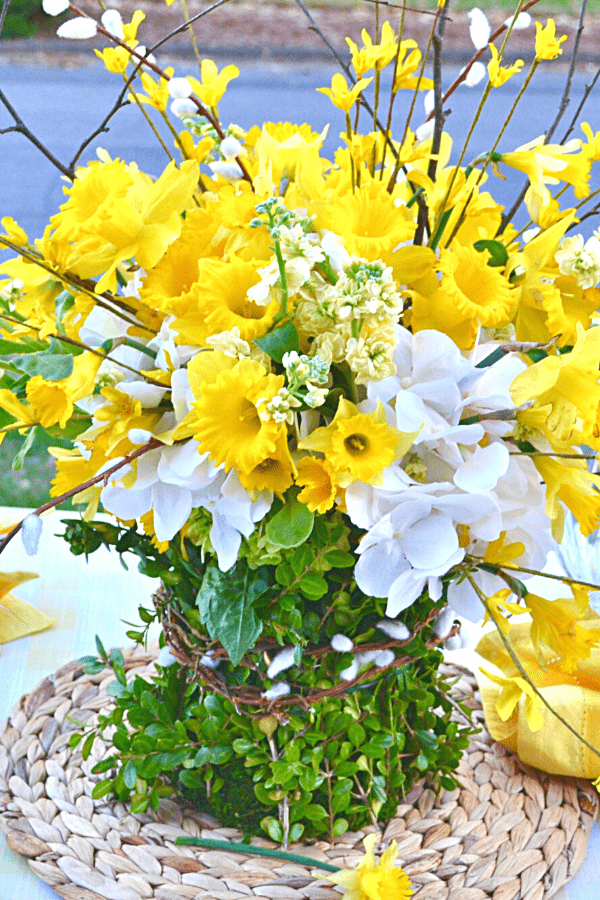
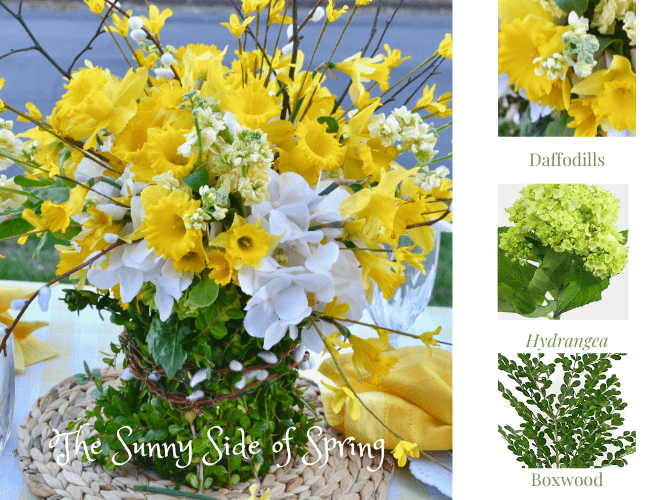
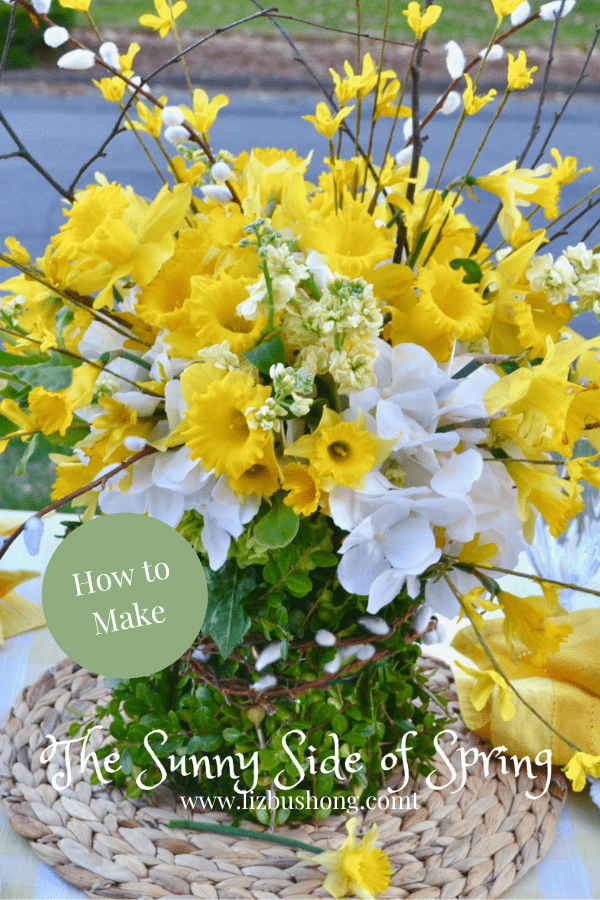
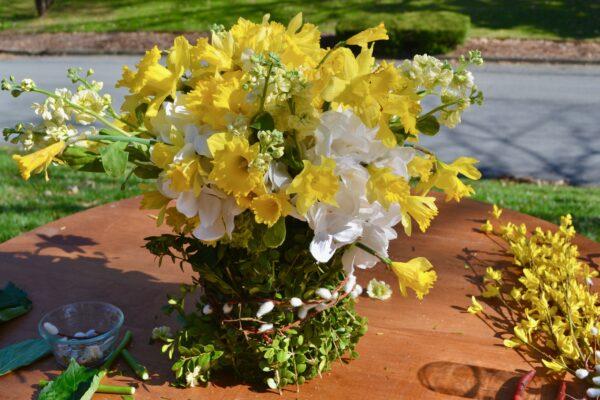
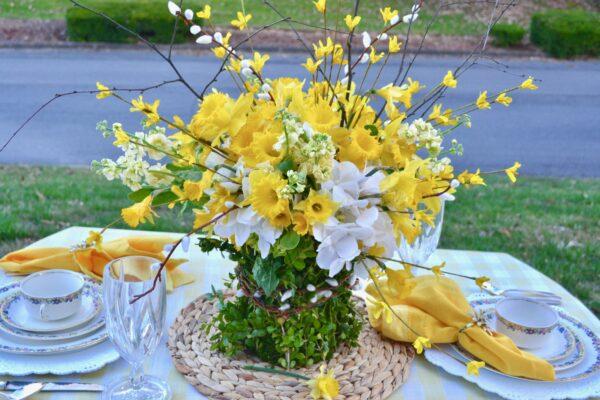
Do you love Spring and early daffodils? You will enjoy making this easy daffodil centerpiece. Fresh cut long stem daffodils and the tiny head tete-e-tete yellow leaf daffodils along with white and green hydrangeas fill the 5″ round 7″ tall vase. What makes this arrangement look like it is still in ground blooming is the moss covered pussy willow vase. I have all the instructions below for you to make your own centerpiece.
Whether you use this centerpiece as a table center or on a buffet this arrangement will brighten every space. You’re family and friends will enjoy this beautiful and creative floral arrangement bouquet. Inspired by the book, Bouquets by Former White House Chief Florist, Laura Dowling, her dancing daffodil arrangement is goregous! I made the arrangement with a different vase covering using boxwood sprigs and wooden shims covered with moss.
How to Make This Lovely Spring Daffodil Centerpiece
Make a trip to your back yard or take a drive out in the country to find wild growing daffodils in the early part of spring. Fortunately for me I had a few in my yard and filled in with a bucket full from my friend Connie. I used 30-35 medium sized daffodils for this small centerpiece.
Supplies you will need include:
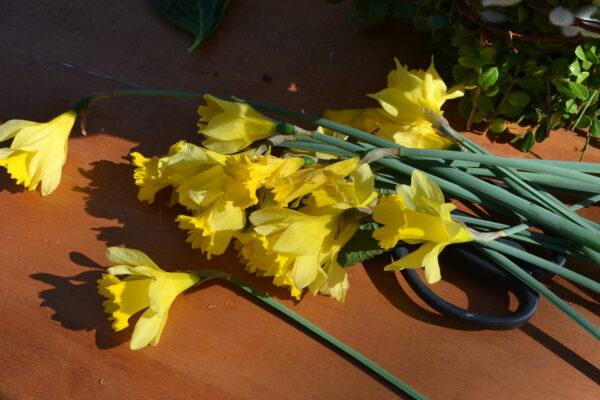
30-35 medium head daffodils, cut all florals at an angle with pruning shears
15 tete-e-tete small head daffodils
white & green hydrangea
3-5 stems yellow forsythia & tree branches
3 -4 faux pussy willow stems
3 stems cream colored freesia
wire cutters & pruners for cutting stems
5″ x 7″ tall plastic bucket- I used a protein powder empty container
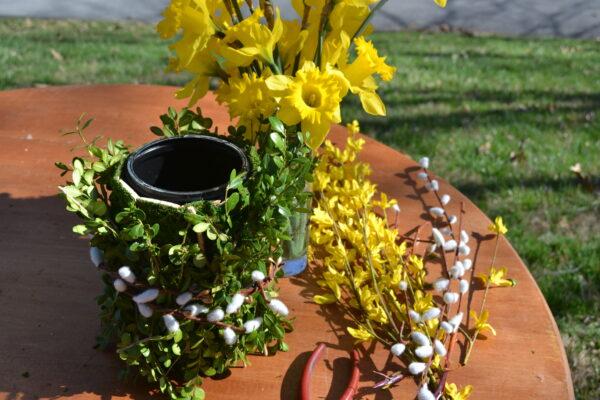
green rubber band, adhesive moss & 13 wooden shims, 20-7″ boxwood stems
Putting this Centerpiece Together-Making the Vase
To make the vase, start with a 5″ x 7″ tall plastic container, as I mentioned I used my leftover protein powder container, covered it with blue tape but not necessary. (Originally thought I would glue the moss covered shims to the container but the rubber band held it perfectly in place). Covering the container with tape would protect the plastic an give the glue something to hold onto.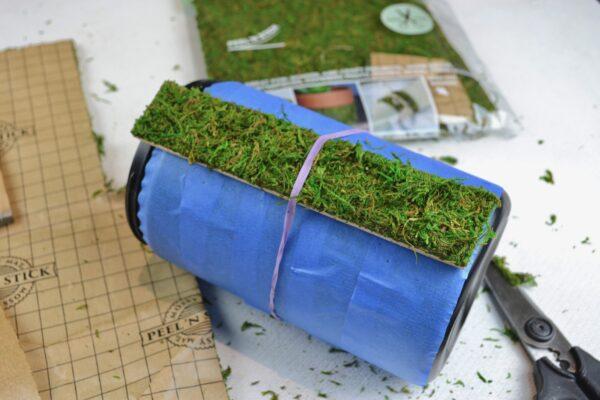
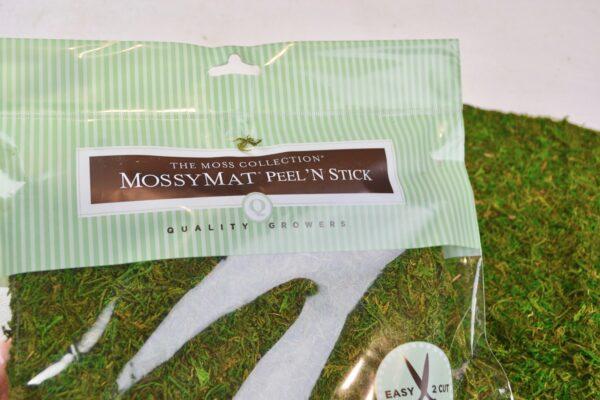
Cut wooden shims to fit the height of the vase mine was 7″. I purchased adhesive backed moss sheets, cut to 7″ tall and the width of the shim, remove backing and attach to wooden shim. Make enough moss sticks to go around the perimeter of the vase. I used 13. Place each shim under the rubber band all around the vase. The shims will stay in place with the heavy rubber band.
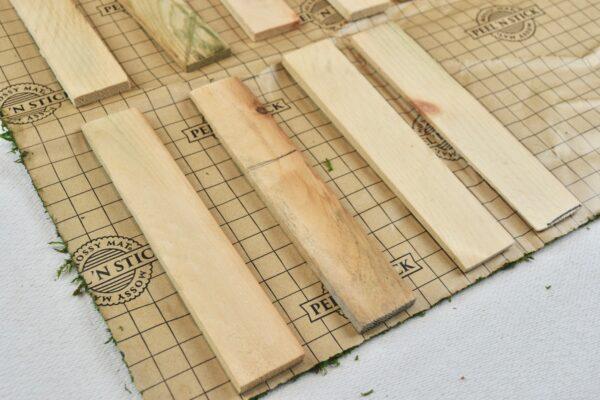
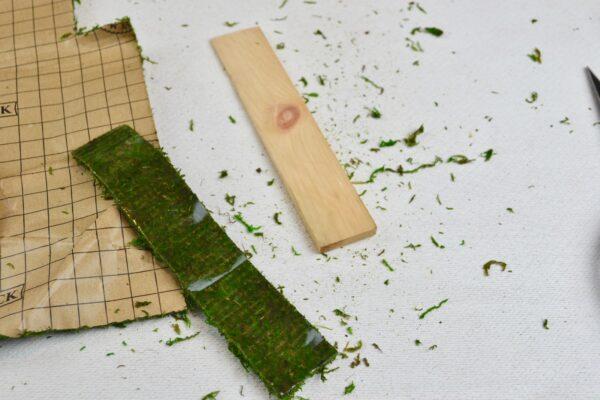
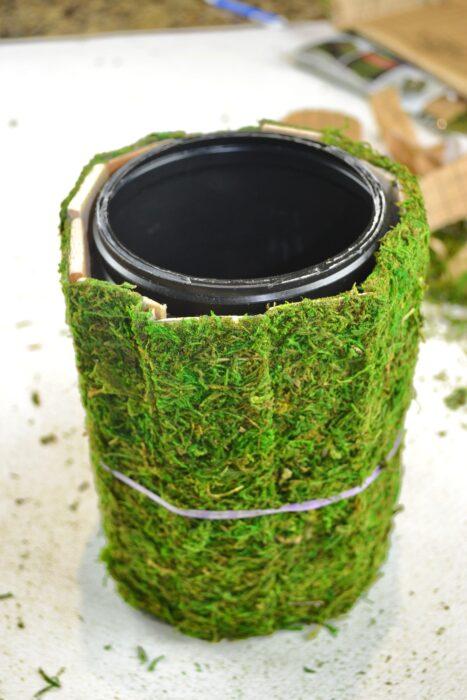
Cut 25 stems of 7″ boxwood stems from your yard, if you don’t have access to boxwood, use any kind of greenery or fresh asparagus as Laura Dowling used. Once stems are cut, insert under the rubber band all around the container, pack them full and use the natural curve of the stem for your benefit, allowing them to furl at the bottom creating a fuller vase. Easy easy process! Wrap the faux pussy willow stems around the rubber band to conceal the band.
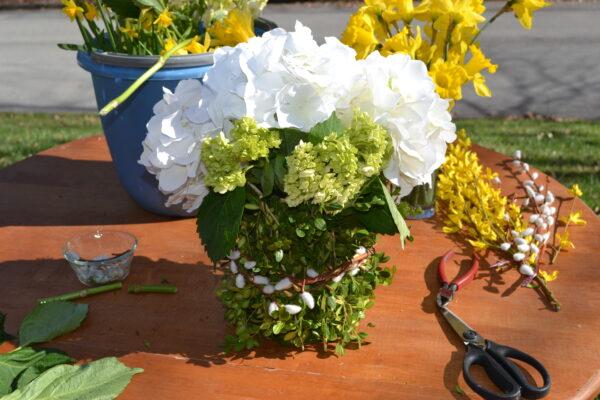
Making the Bouquet
Prepare the daffodils, whether you cut them from the yard or purchase them have a bucket of water handy to place the new stems so they will soak up fresh water to keep them healthy. Remove any leaves that might be under water to avoid rotting.
I used the hydrangea as the filler base to hold the fragile stems of the daffodils. Using three white and 3 green small head hydrangeas place in water filled vase. Next add daffodils in groups of three to 5 filling in around perimeter of vase first, then fill in the middle and top of vase. Fill in any empty spaces with the cream freesia and tete-e-tete daffodils. The stems of the daffodils are at different heights due to cutting them wild, but use the taller stems in the center and right and left sides of centerpiece.

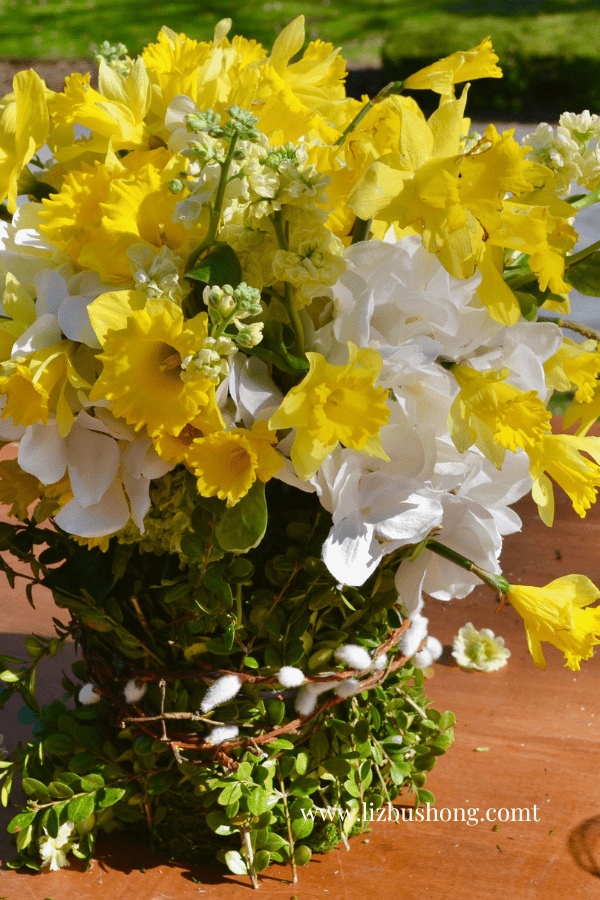
Once the centerpiece is filled with blooming daffodils and freesia, add forsythia branches maybe two on the right and three on the left with one being in the center of arrangement. Next add taller wooden tree branch stems and pussy willows making the bouquet arrangement airy. That’s it! Sit the centerpiece in your living space or even outdoors on the patio table. It’s beautiful!
Other Ideas You Might Like To Try: Tap on photos to go to DIY

