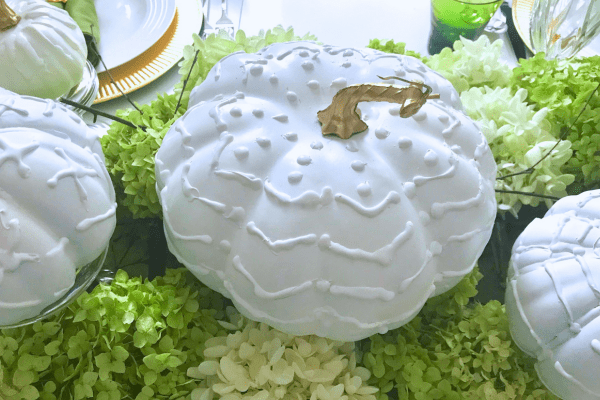
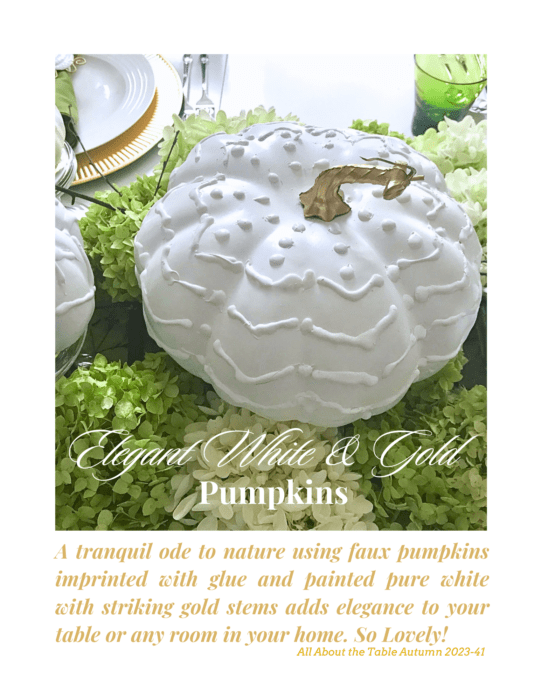
Creating fun things for home decor especially for fall is easy with this simple DIY project. White & Gold Pumpkins DIY features faux or real white pumpkins, glue sticks and spray paint. Decorate your dining table, fireplace mantel or front porch with this cute white pumpkin display. Making this DIY begins with sketching a pencil design of dots, lines, whatever design you want to create on the sides of the pumpkins. Once design is sketched, hot glue is used over the design to create the raised effect. After removing the glue strings the faux pumpkin is spray painted bright white, the stem is hand painted gold.
How to Make White & Gold Pumpkins
Create a lovely dining table for fall with faux white pumpkins sported with glue dot designs. To begin this project, gather your assorted pumpkins, remove stems if you’d like to spray paint gold or leave in tact an hand paint with acrylic paint.
You will also need glue sticks, a glue gun, pencil for sketching design, hair dryer to help remove glue strings. After pumpkins are completely dry you will be spray painting white with semi gloss spray paint.
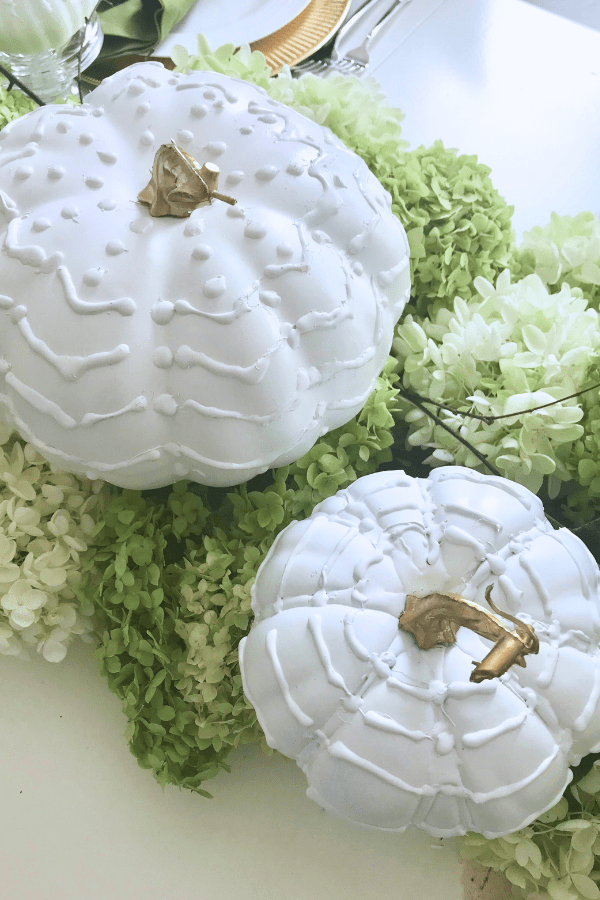
Lightly wash pumpkins and dry before sketching dots and lines. Whatever design you want to make that you can easily cover with hot glue. Pipe hot glue over lightly sketched dots and lines. Try to remove glue strings as you go. Only glue one section at a time for best results.
Complete pumpkin design with glue, allow to dry a few hours. With a hot hair dryer blow over the pumpkins to remove any remaining strings. Sometimes this works well and sometimes it will not get all the strings. To me this is the most challenging part of the project, the glue strings.
In addition, you will see glue strings once you start to spray paint glossy white, no worries.. just remove them as you see them. Spray paint the faux pumpkins the glossy white for an even polished look. Allow to dry before reattaching the stems or hand paining the pumpkin stems gold.
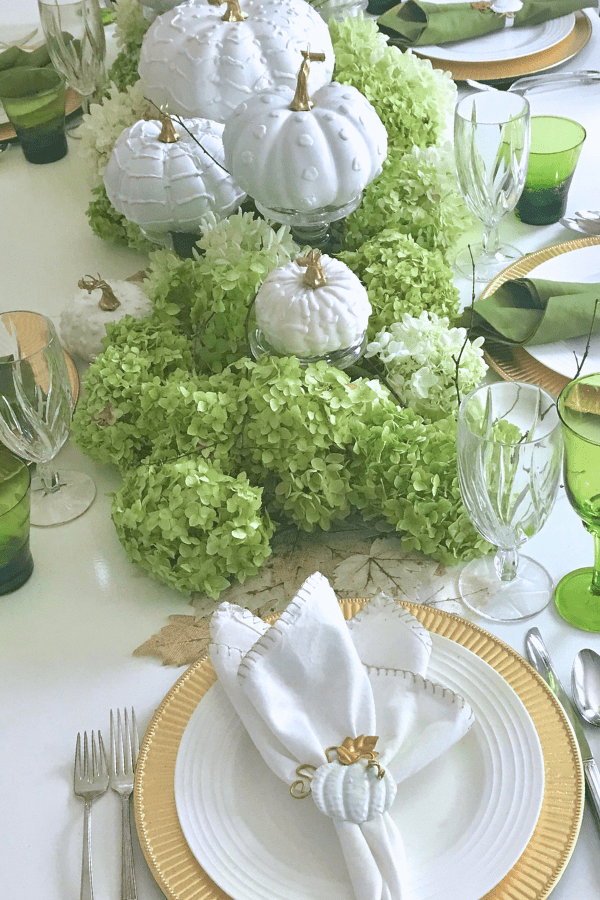
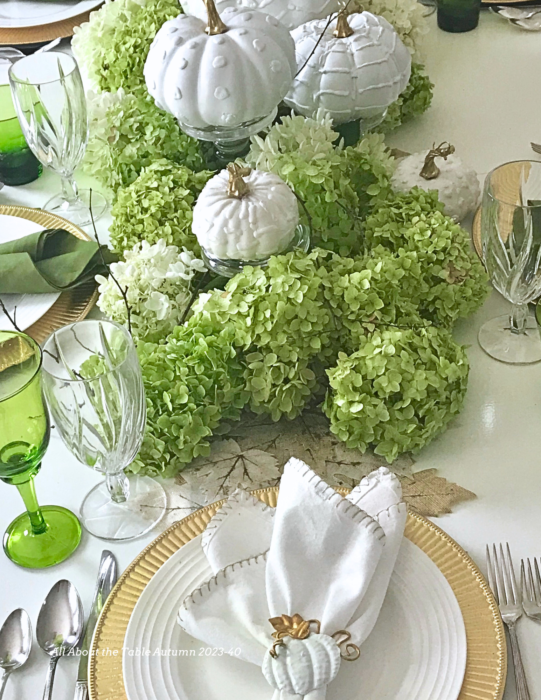
Because my dining room is white and gold I opted for gold and white pumpkins. As a table centerpiece, fresh green hydrangea stems were placed in water picks and positioned down the the center of my table. I also had a white & gold leaf table runner underneath the hydrangeas and pumpkins. This turned out so pretty for fall.
In addition, I added bittersweet vine and changed the napkins to a pretty plaid to create a colorful centerpiece for a variation.
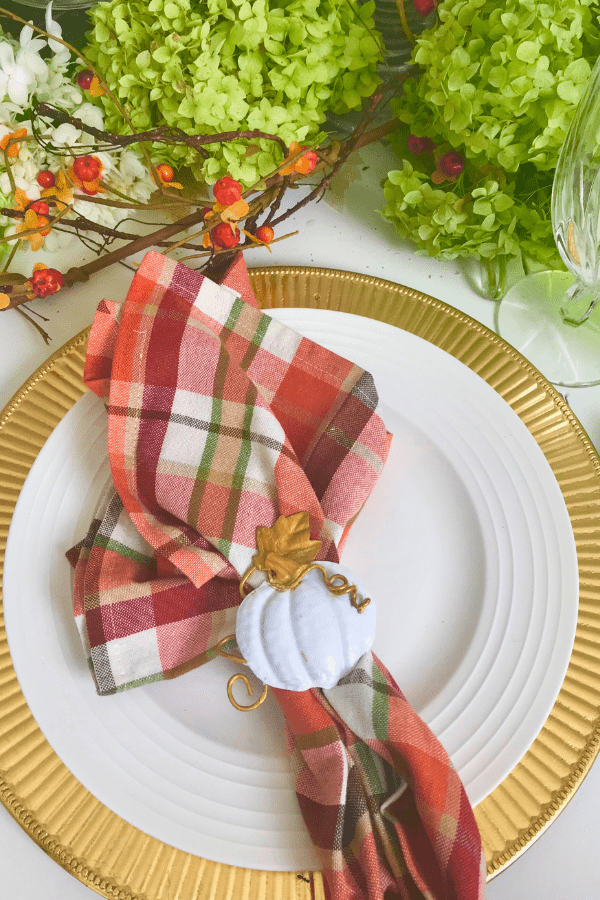
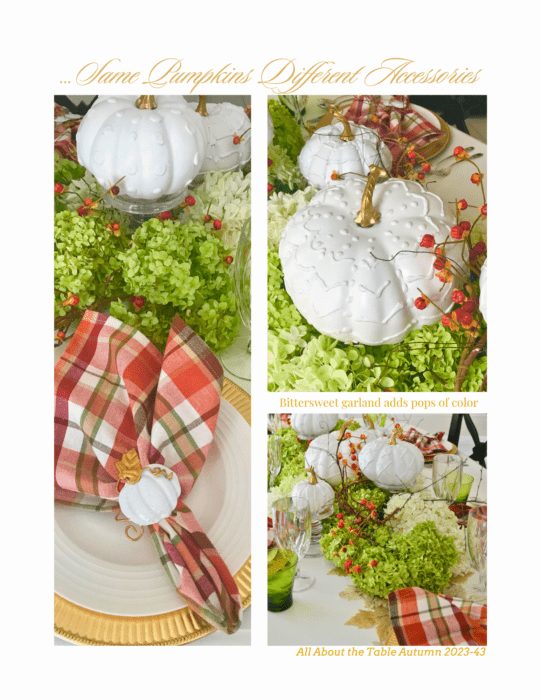
This tablescape and Pumpkin DIY will take through early fall into Thanksgiving, just make sure you change your water picks of allow the water to evaporate for dried hydrangeas. The hydrangeas will dry in the color they are. Be aware the hydrangeas will be very fragile once dried.
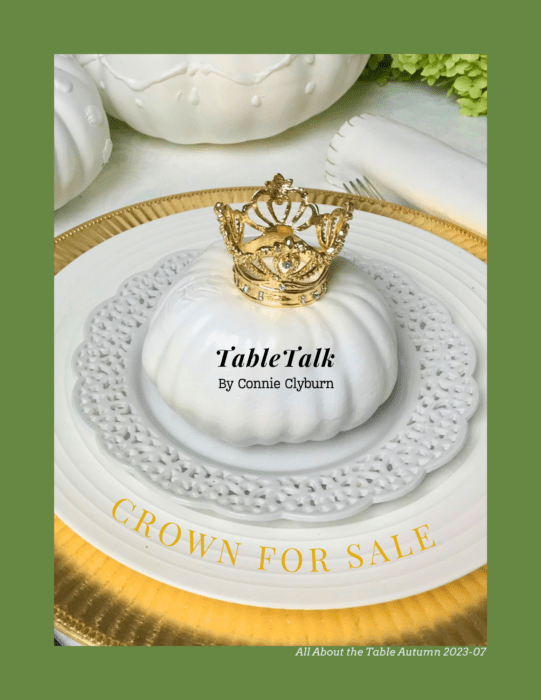
Hope you will try this DIY project. It is an afternoon project and so much fun to create. You can even add a decorative crown for a crowning touch to each place-setting as seen in Autumn issue of All About the Table Magazine.
Other Ideas You Might Like to Try:
