Want to create Bunny Ears Napkin Folds for your Easter or Spring table? This Bunny Ears napkin fold tutorial has several steps but I have made it simple for you. You will need a cloth napkin that is 20 x 20, an iron, and something to hold the napkin in like an egg cup. The bunny ears napkin fold tutorial is step by step pictorial guide that will help you create the cutest little bunny for your table place setting. Learn more here…

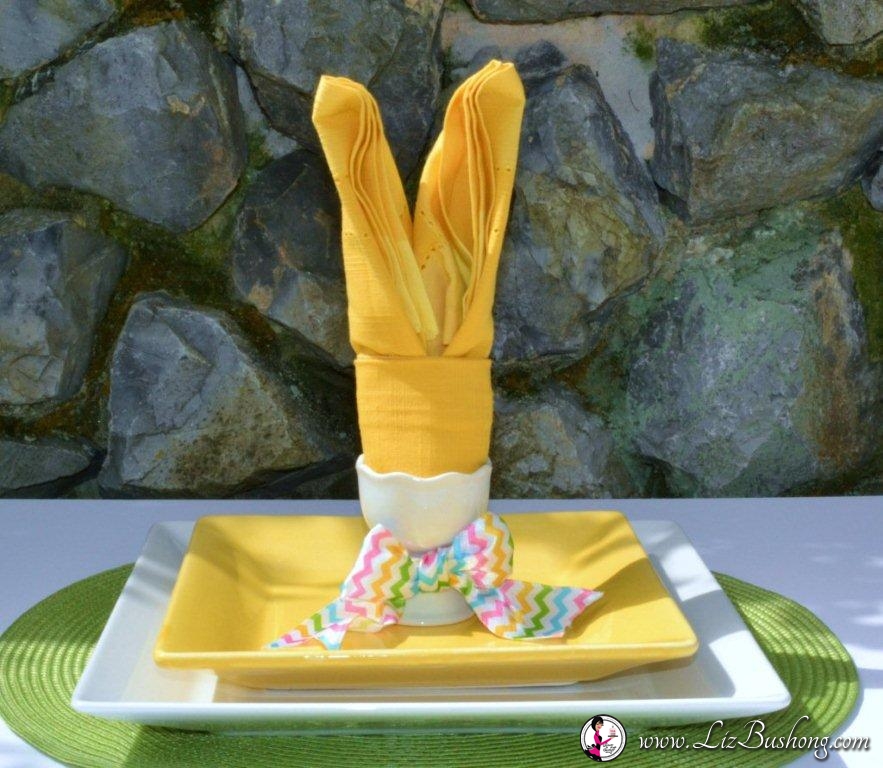
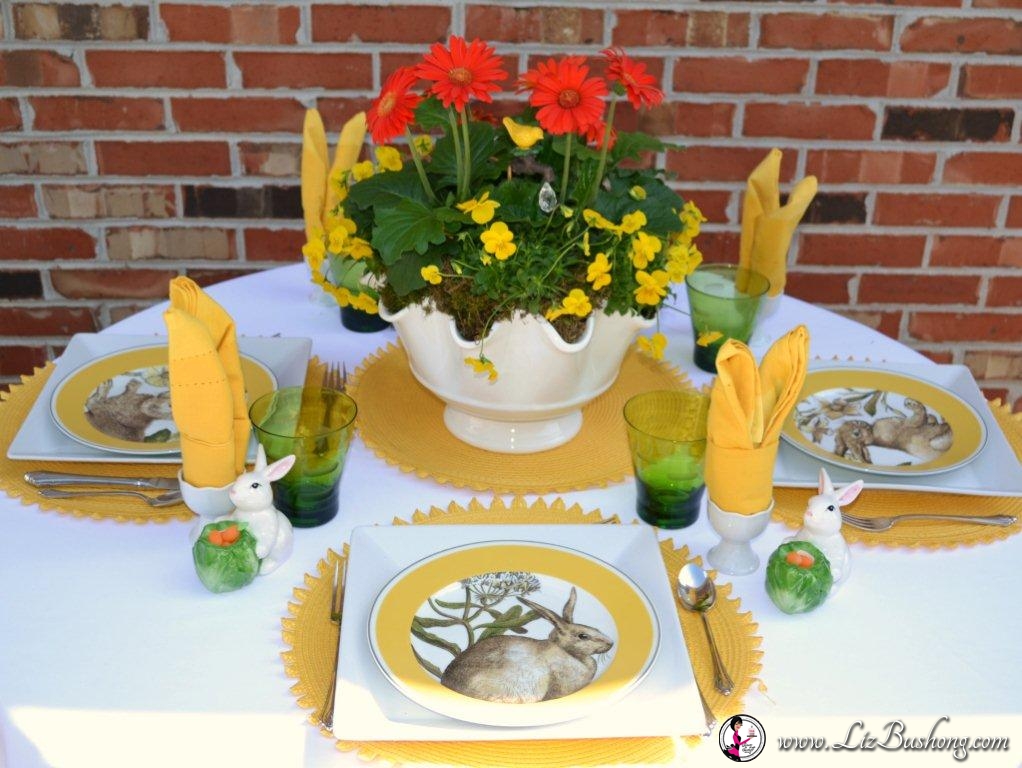
Easter is on its Way! Surprise your family on Easter morning with this cute little bunny napkin fold. Kids of all ages will squeal with excitement when they see this on there breakfast plate. Underneath the bunny napkin in the egg cup place a few jelly beans or grass for even more fun and surprise. The egg cup is plain so you could add any color of napkin to your place-setting. The added chevron ribbon bow is attached on the stem of the egg cup. The only thing holding the napkin together is the egg cup. So with this napkin you will need something to tie around or to hold in shape. If you don’t have an egg cup you could use a ribbon. Place a rubber band around the bottom and cover with ribbon. You could also add a small white pom pom on the knot of the ribbon if you would like. Since my napkin is in the egg cup, I did not add the bunny tail pom pom.

How to Fold Bunny Ears Napkin Tutorial
Begin with a 20 x 20 inch cloth napkin. Fold the napkin up 5 1/4″ to form a rectangle, then fold the folded edge up another 5 1/4″. Next fold the remaining napkin inches down over the folded napkin. This will create a long rectangle with a loose edge facing you. See pictures for these first three steps. If you iron the napkin first this will help you with the folding technique. Purchased Hemstitch napkin-straw-yellow.
Bunny Ears Napkin Fold Tutorial-Steps 1-5
Begin with a 20 x 20 inch cloth napkin. Fold the napkin up 5 1/4″ to form a rectangle, then fold the folded edge up another 5 1/4″. Next fold the remaining napkin inches down over the folded napkin. This will create a long rectangle with a loose edge facing you.


Next fold the remaining napkin inches down over the folded napkin. This will create a long rectangle with a loose edge facing you.


Bunny Ears Napkin Fold Tutorial-Steps 6-11
Hold your finger in the center of the top edge as you fold down the left and right sides of napkin.


Fold down the center point 2 “, keeping the point in the center. Lay napkin flat on the table while doing this.


Bring the right side of napkin to center of triangle point, repeat for the left side. This is the ears.


This napkin is different that other bunny napkins you have seen in that it doesn’t have the bunny face and it is not self supporting. This napkin fold will need to be sitting in something like an egg cup or drinking glass to stand erect. Another option would be to tie a ribbon around the base or a small yellow rubber band then place a small ribbon over the band to cover. You can use paper napkins to create this cute bunny fold too.
TA DA! YOU DID IT!
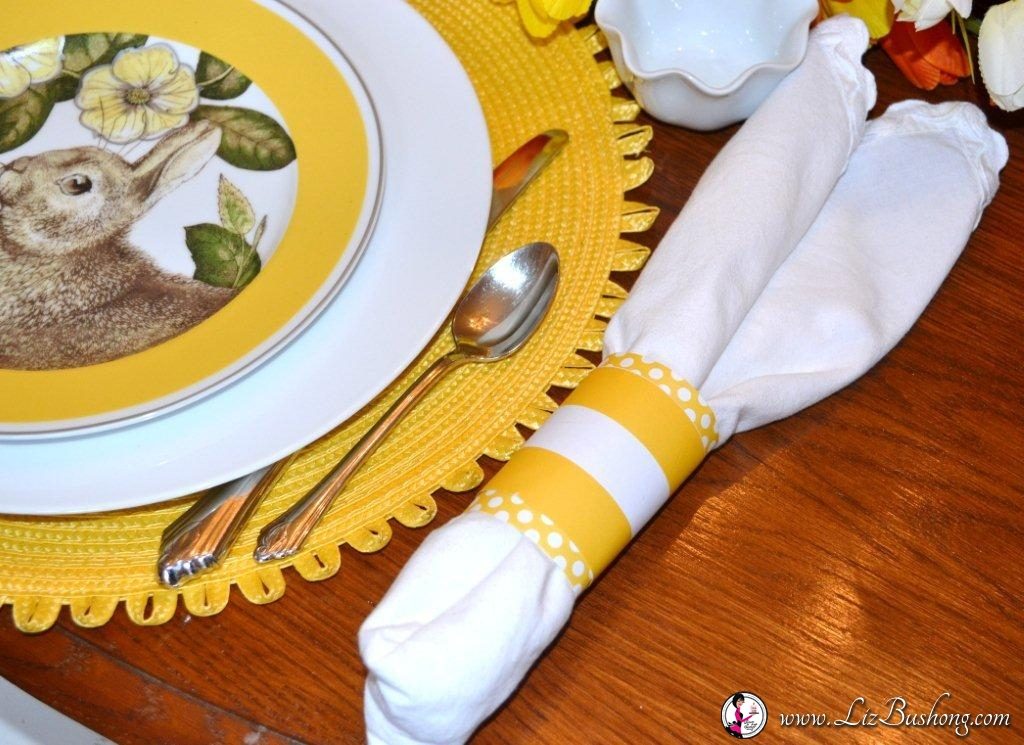
Just another option on table ware setting


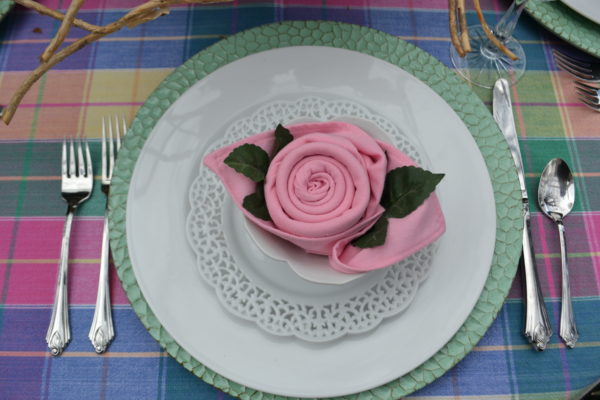
Other Ideas You Might Like to Try:


