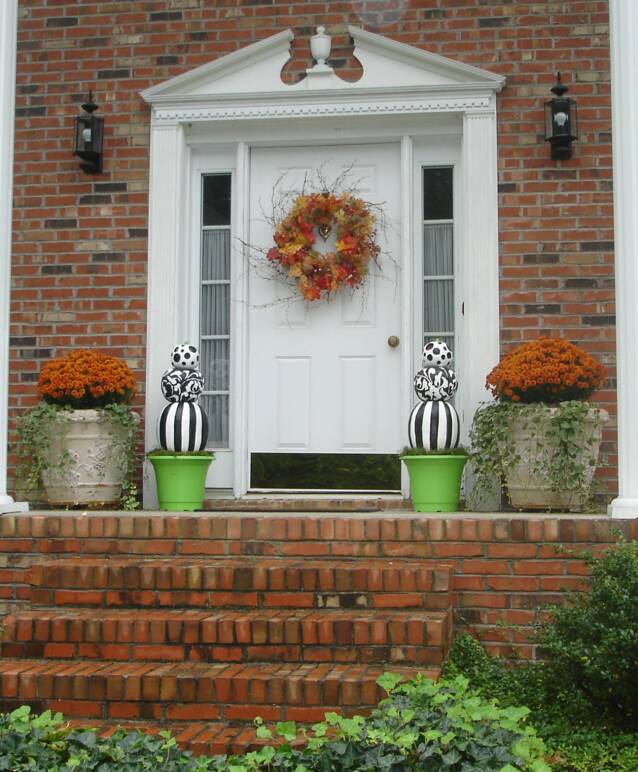
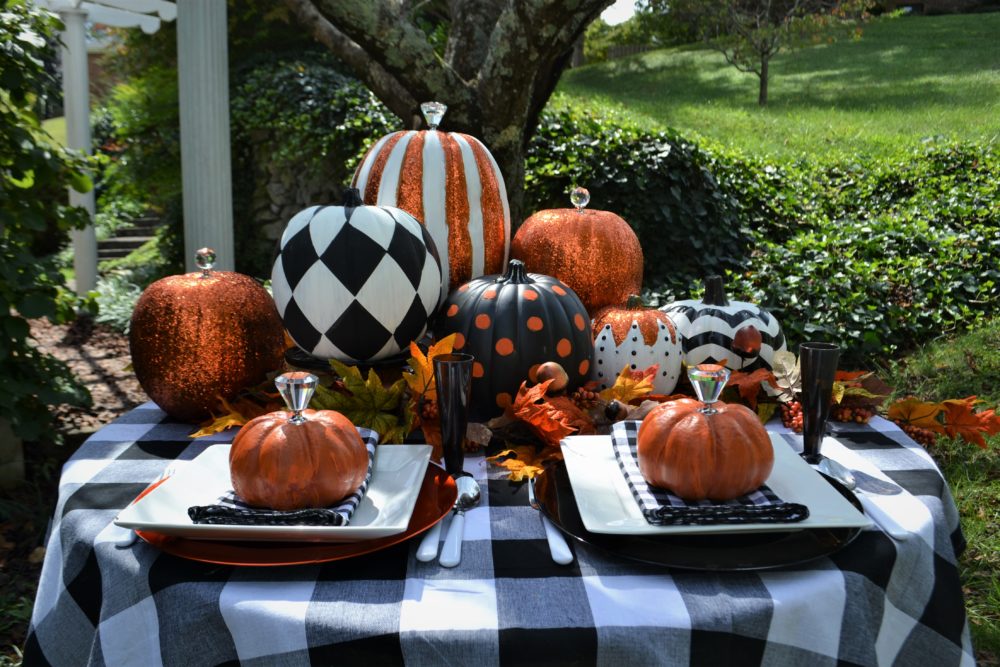
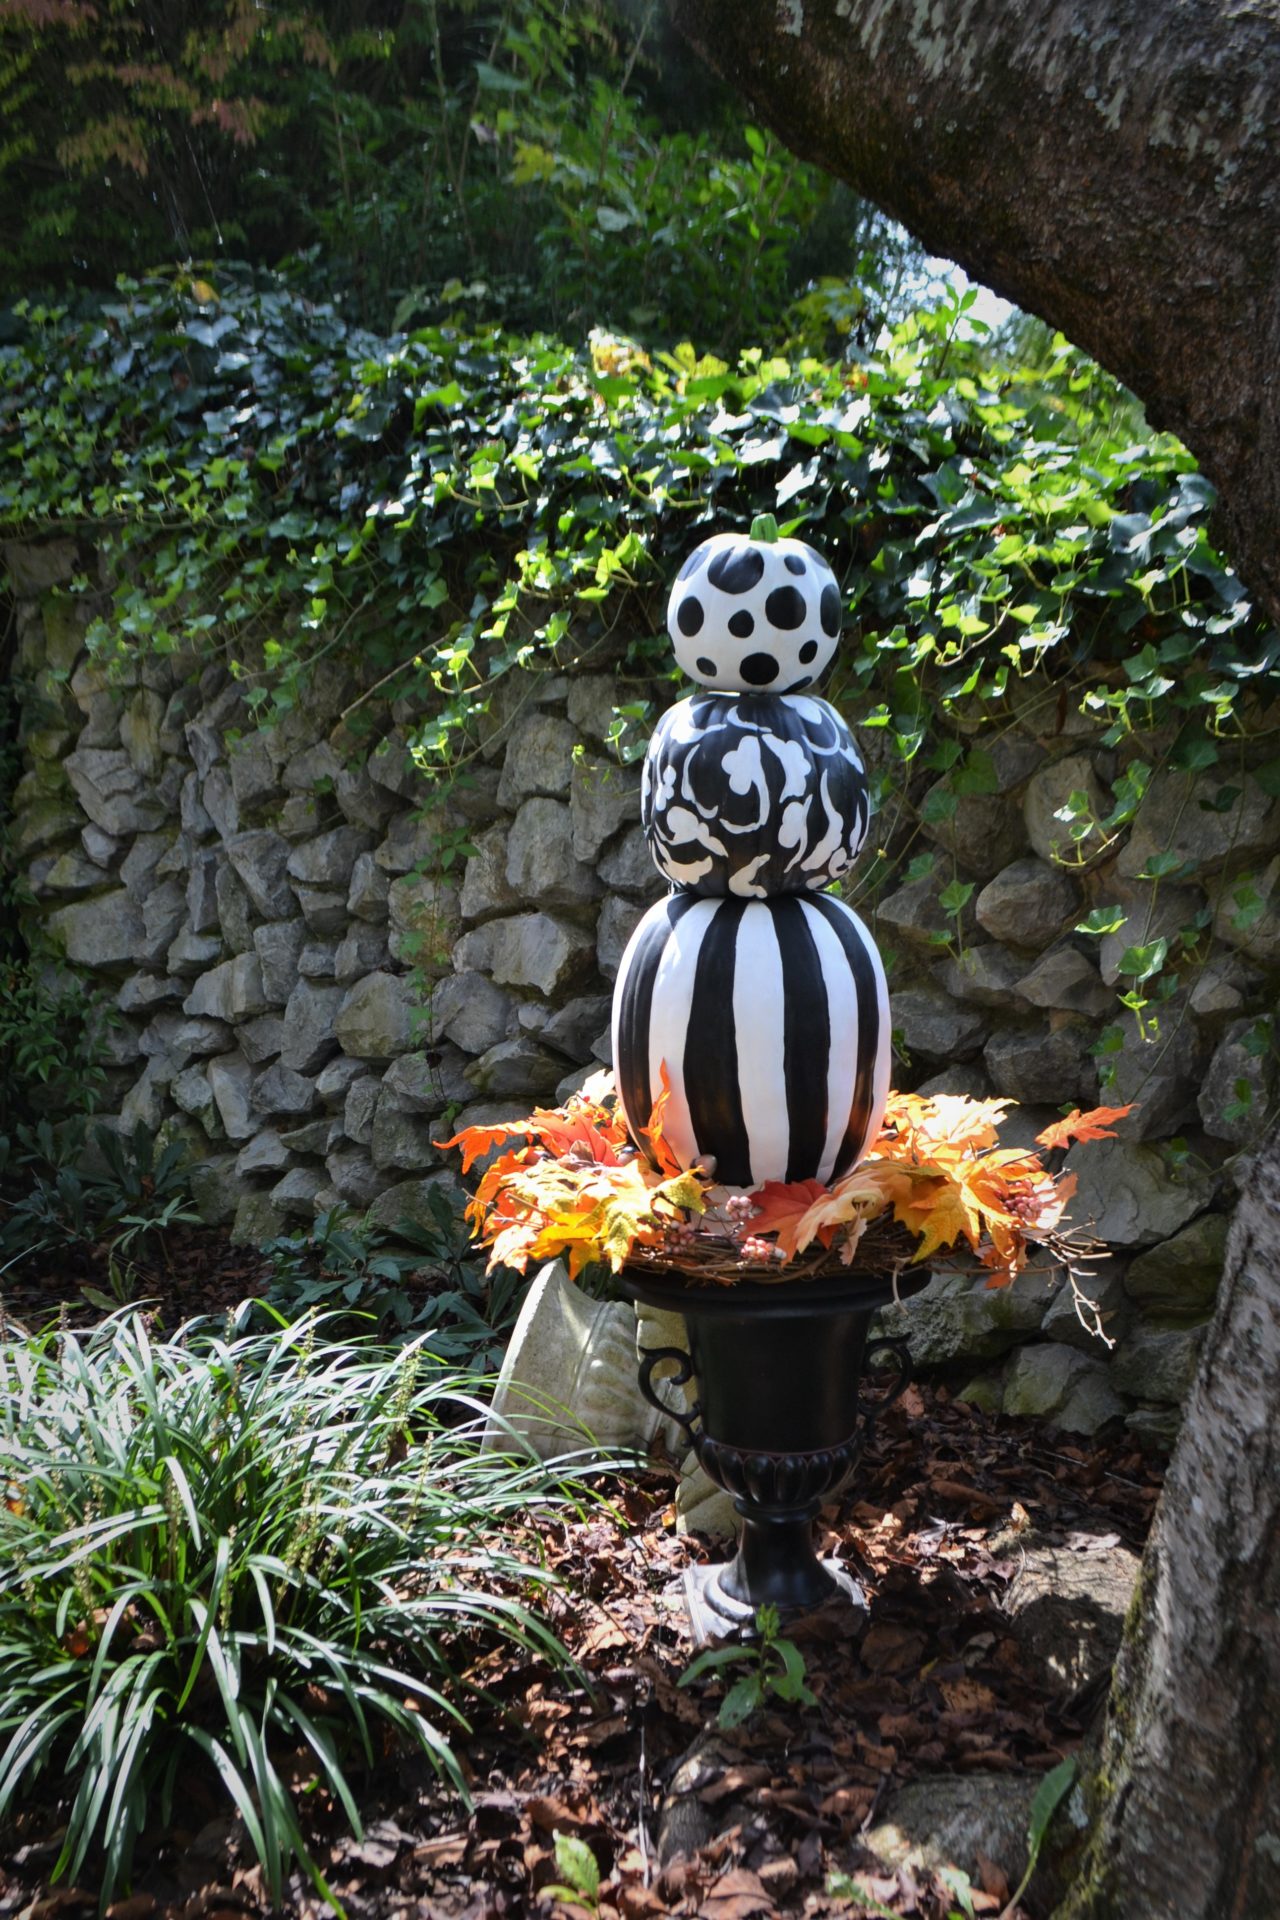
Fall is here, time to make the Best Pumpkin Black and White Topiary for your front porch, patio or party! Faux white painted pumpkins in graduated sizes are painted black and white in polka dots, stripes and stenciled scrolls. A wooden dowel in concrete base holds the stacked pumpkins securely in place.
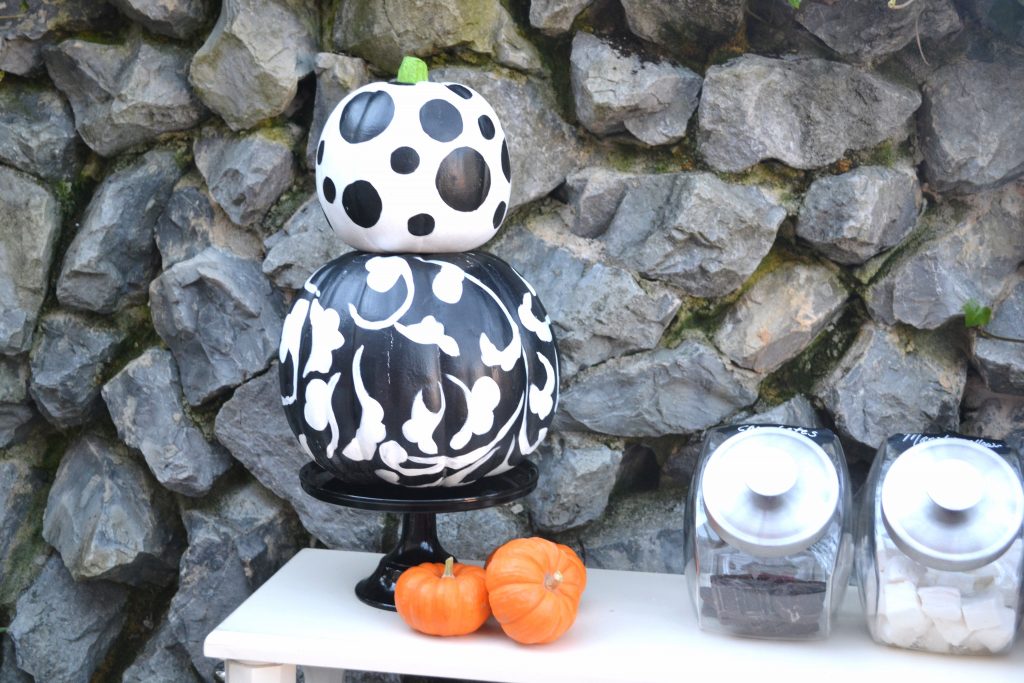
You can use these pumpkins for other centerpieces and projects, check out my Hot Chocolate Bar using the medium and small pumpkin on the buffet. The top and center pumpkin small topiary is without dowel rod but stacked together on a black cake stand. Now you can make the Best Pumpkin Black and White Topiary!
This cute topiary was featured on Wayfair.com
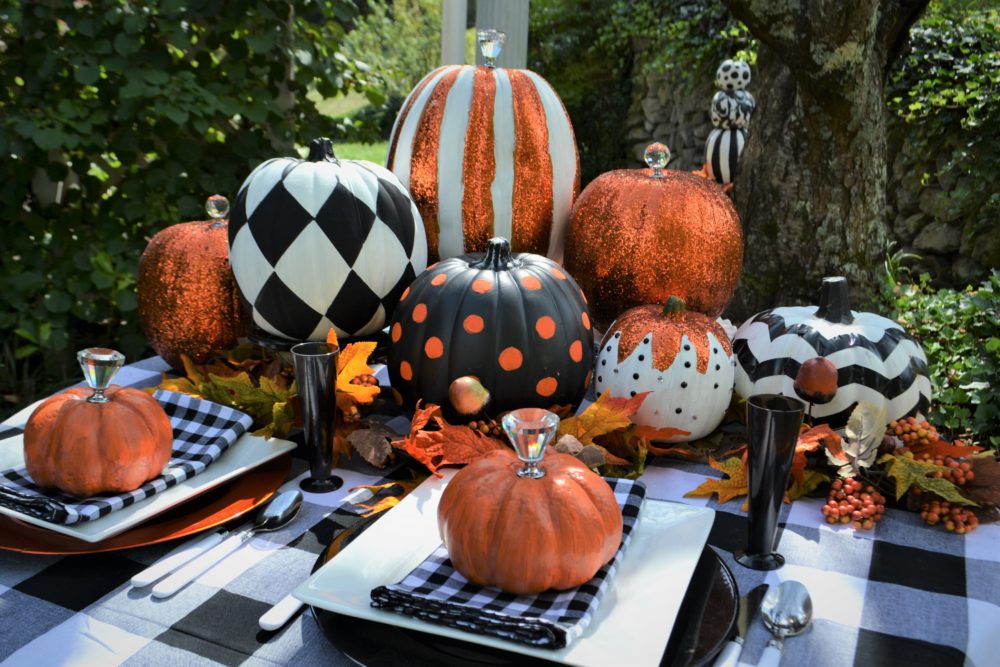
Click here to see Best Black and White Pumpkin Tablescape
How to Make Black and White Topiary
Materials/Instructions
Makes One Topiary
- 1 (13″) planter of choice or urn
- 1 can spray paint
- 1 can clear protective finish
- 1/2″ x 36″ dowel rod
- plastic or clay pot saucer to fit bottom of planter
- small bag concrete mix
- 1/2″ thick 24″ x 24″ square plywood sheet cut into circle to fit circumference of planter
- 3 pumpkins, small, medium, large, real or faux ones.
- Folk Art-acrylic paint- black & white- small paint brushes
- primer-spray or paint- Zinsser
- Spanish moss or grapevine wreath with fall leaves
- stencils of choice
Instructions for Assembly:
1. Prime all pumpkins if using the fake/faux pumpkins. Remove stems from medium and large pumpkin, but leave the small stem. Paint small stem lime or green. Let dry. Paint large pumpkin with white acrylic paint. Let dry. Stripe with black acrylic paint following grooves on pumpkin.
2. Paint medium pumpkin with black acrylic paint, let dry. Using a stencil, pencil design on pumpkin. Paint very carefully inside the lines of the design with white paint. Let dry.
3. Paint the small pumpkin with white acrylic paint, let dry. Using a dot stencil or do free-hand, create assorted sized circles. Paint circles black. Let dry.
4. Spray all pumpkins with a clear coat of Protective Finish. Let dry.
5. Cut plywood into circle to fit circumference of planter, the circle should fit 1″ below the top of the planter. Sand edges, paint to match planter. Using a 1/2 ” drill bit, drill center hole in wooden circle.
6. Paint planter desired choice of color. I used lime green. Let dry.
7. Mix concrete and pour into plastic liner or clay pot saucer. Note some plastic liners will not accept the concrete, and may separate from liner over time. If that is not an issue, then use the plastic liner, otherwise use a clay saucer. This is to
keep the dowel centered and the pumpkins secure in the planter.
8. Place the saucer/liner in bottom of your planter. Insert dowel rod in center of concrete, then add the wooden circle. Slide the plywood circle down dowel rod to fit snuggly in your planter. The plywood wooden circle should be sitting about 1 inch below the top edge of planter. Use a level to make sure your dowel rod is straight. Let concrete with dowel dry over night. Do not move until dry.
9. Drill 1/2″ holes in bottom and top of the large and medium pumpkins and the bottom end of the top pumpkin.
10. Using hot glue, attach Spanish moss to plywood circle, or grapevine wreath with silk leaves or berries.
11.Position large pumpkin on dowel rod, extending through the top of pumpkin and repeat with remaining pumpkins.
12. YOU DID IT!!!
If you don’t want to use faux pumpkins, do the same technique for real ones. Real pumpkins will last about 10 -15 days, depending on the location of the topiary and weather.
Use same instructions above for a Christmas Ornament topiary only substitute outdoor plastic ornaments for the pumpkins.
