

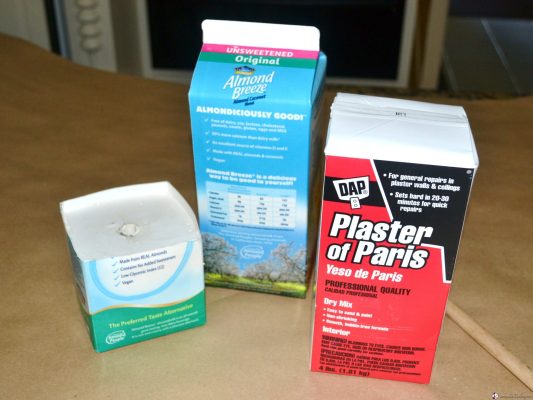
Would you like to make a show stopper for your front door or buffet table? Make a statement on your front porch with this indoor/outdoor ornament topiary. For this project you will need a large, medium and small-sized shatterproof ornament, decorative urn, plaster of Paris, a dowel rod and a few other little details listed below. The ornaments are stacked vertically together connected with the dowel rod that is embedded in the plaster, then placed in a decorative urn. You will love making these ornament topiaries.

How to Make Ornament Topiary-Supply List & Instructions.
Be sure to scroll down for photo step by step instructions.
PrintHow to Make Ornament Topiary

Beautiful statement for indoor or outdoor Christmas decorating. Ornament topiaries feature three graduated sized shatterproof ornaments, large, medium and small.
- Prep Time: 60 minutes
- Total Time: 2 hours
- Yield: 2- Ornament Topiaries 1x
- Category: Christmas Home Decor
Ingredients
Instructions
- Line work surface with old sheet or brown paper for spills. Rinse and dry half gallon milk carton and measure from bottom up 4″ and draw a horizontal line around the perimeter. Cut on this line. You now have a 4″ x 4″ cube.
- Mix 2 parts plaster of paris to one part cold water. I used 4 cups of paris with 2 cups of cold water in an old bucket. Stir to mix removing any lumps of paris. Pour mixture into milk carton. Allow to sit for 4 minutes before adding the dowel rod to center of paris. In the meantime, cut 8″ pieces of tape and have handy ready to tape across the carton once the dowel is in place. You will criss cross the tape in layers to help secure the dowel in center of paris to dry.
- Insert dowel. Tape to hold in place. Allow to sit overnight to dry. Next day, remove tape and dowel should be standing tall. If you missed the center a bit, no worries, you can adjust the container in the urn to make it center.
- Drill one hole in bottom of each ornament except for the top finial. Twist off ornament head or eye to reveal the second hole. Cut the plywood into a round disc the diameter of your container, in my case the urn which was 24″ around. Drill center hole with 1/2″ drill bit in plywood disc the size of your dowel. I used folk art black acrylic craft paint to paint my disc. Paint top and sides of round you won’t be able to see the disc once the wreath is sitting on top of it, but it makes a nice finish just in case you need it.
- After paris is hardened with dowel, place in center of urn/container. Next, slide the plywood disc over the dowel and let it sit on top of the urn/container. Next, position the faux or real evergreen wreath over the dowel and let it sit on top of the plywood disc.
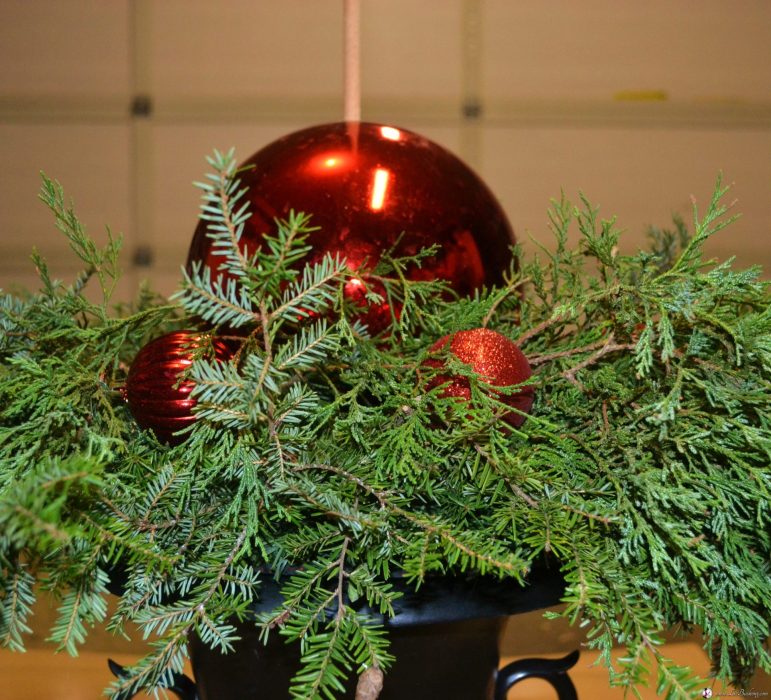
- Adding fresh greenery to the faux wreath will give your topiary life and movement. Add shatterproof red ornaments or ornaments to match your larger ornaments to complete the look of the finished topiary.
- Position largest ornament over the dowel and let it rest on the wreath, thread corresponding sized ornaments over the dowel and end with the finial. If necessary to hold the finial in position, hot glue the finial to the ornament it sits upon.
- As a finishing touch, place regular ornaments around the base of the evergreen wreath. I like to cut fresh pine and other evergreen stems to add to my faux wreath to fill in as well as to make it look real. Replace the live greens if using inside to keep it fresh during the season.
Notes
Keep the urns throughout the year and change seasonally, Easter Eggs for Spring, Pumpkins for Fall and Ornaments for Christmas.
How to Construct Ornament Topiary- Photo tutorial
Line work surface with old sheet or brown paper for spills. Rinse and dry half gallon milk carton and measure from bottom up 4″ and draw a horizontal line around the perimeter. Cut on this line. You now have a 4″ x 4″ cube.
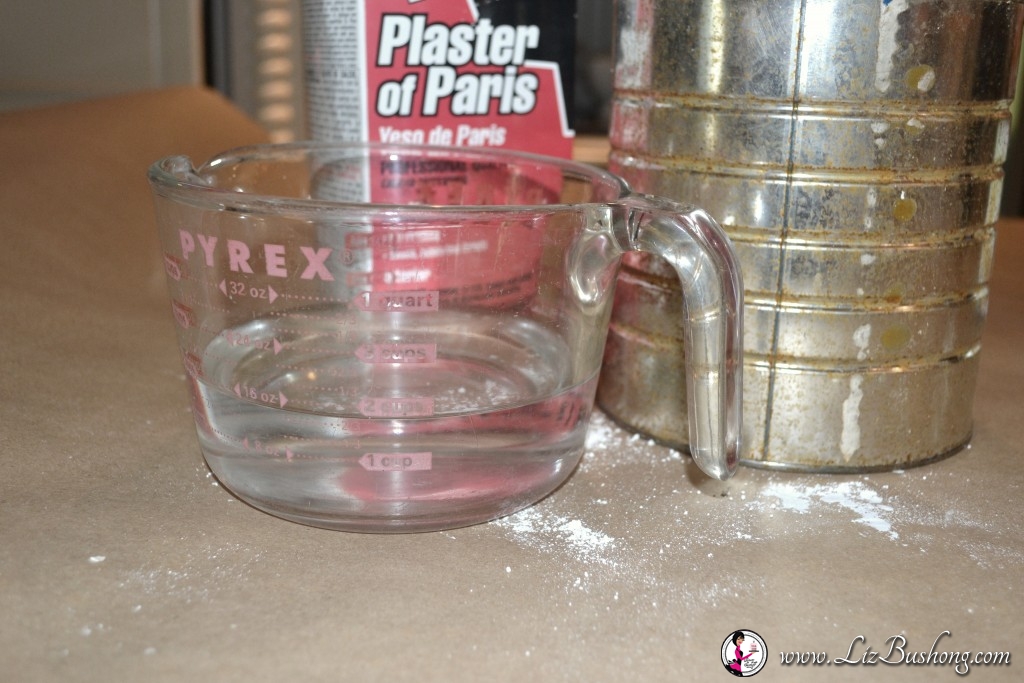
Ornament Topiary:Mixing the Plaster
Mix 2 parts plaster of Paris to one part cold water. I used 4 cups of plaster with 2 cups of cold water in an old bucket. Stir to mix removing any lumps of plaster. Pour mixture into milk carton.
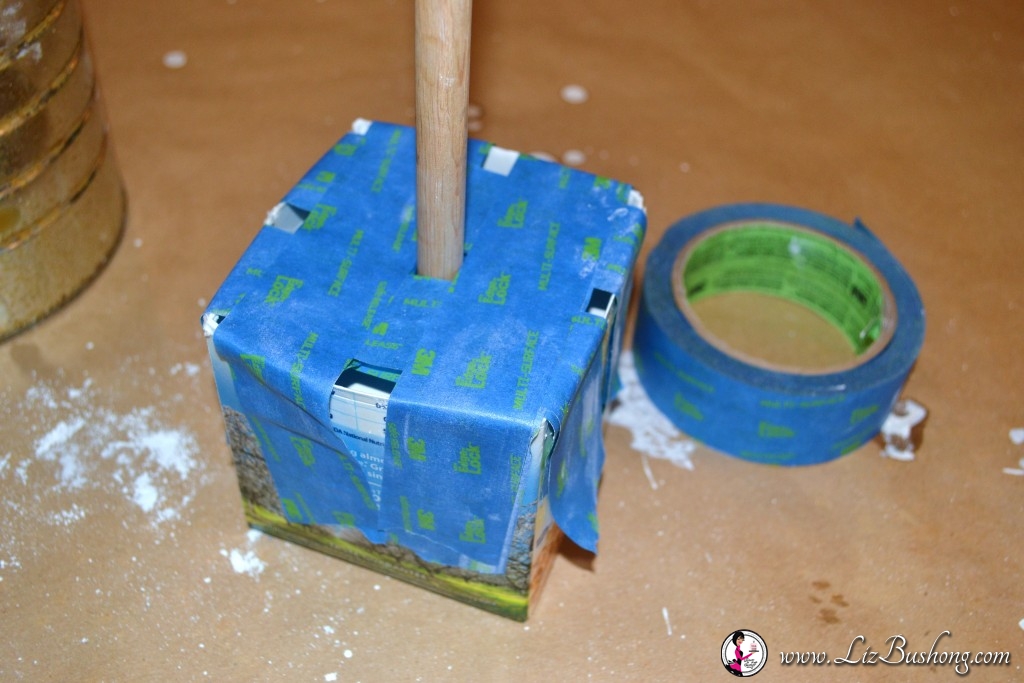
Allow plaster to sit for 4 minutes before adding the dowel rod to center of box. In the meantime, cut 8″ pieces of tape and have handy ready to tape across the carton once the dowel is in place. You will criss cross the tape in layers to help secure the dowel in center of plaster to dry. I used painters tape but any tape will work that is at least 1″ wide.
After 4 minutes insert dowel in the center of plaster, immediately tape the dowel across the top of the box to help stabilize the dowel.
 Allow to sit overnight to dry. Next day, remove tape and dowel should be standing tall. If you missed the center a bit, no worries, you can adjust the container in the urn to make it center. (ask me how I know this?) haha
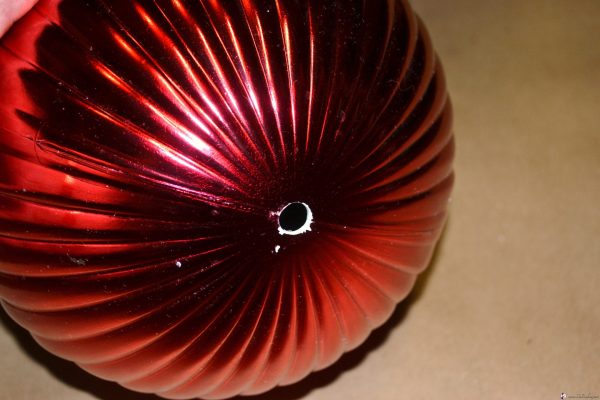
Ornament Topiary: Drilling Ornament for Dowel & Disc to Support topiary
Use a drill and drill bit the size of the diameter of your dowel rod. I used a 1/2″ diameter dowel rod that was 3′ tall. Keep in mind the depth of your urn plus the thickness of the plywood disc and height of each ornament before cutting the 3′ dowel rod. Only cut the dowel after you have elements in place to ensure you have enough rod to support the structure.
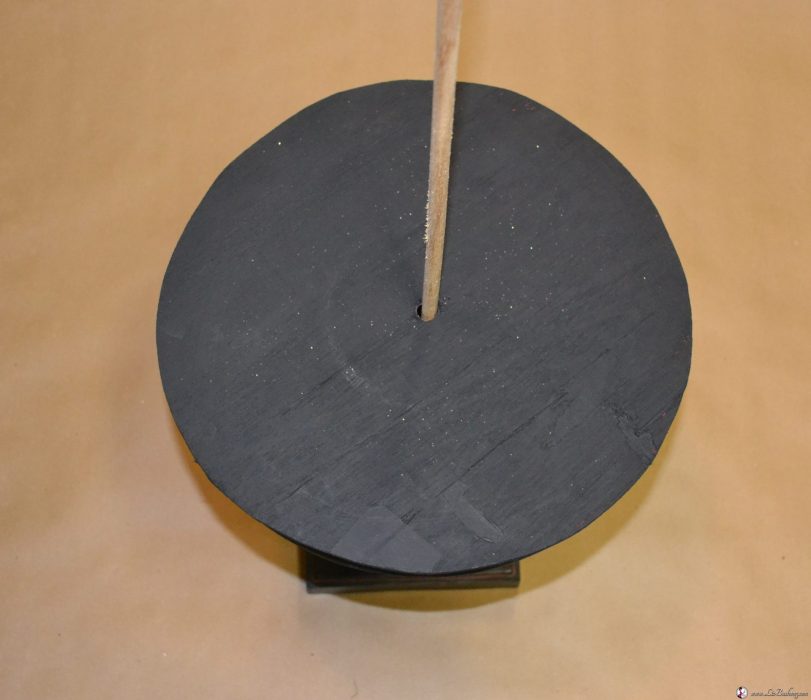
Drill one hole in bottom of each ornament except for the top finial. Twist off ornament head or eye to reveal the second hole. Cut the plywood into a round disc the diameter of your container, in my case the urn which was 24″ around. Drill center hole with 1/2″ drill bit in plywood disc the size of your dowel. I used folk art black acrylic craft paint to paint my disc.
Paint top and sides of round plywood disc you won’t be able to see the disc once the wreath is sitting on top of it, but it makes a nice finish and sturdy support for the ornaments on the dowel.
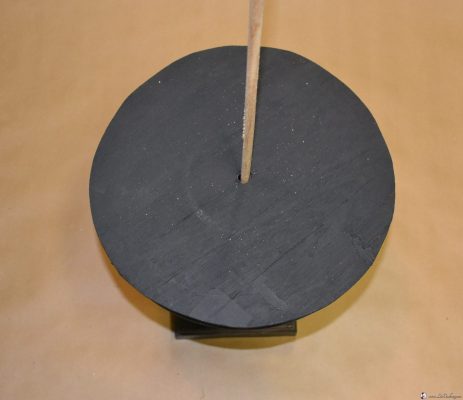
This is the black disc and how it will look when assembled.
Ornament Topiary Assembled
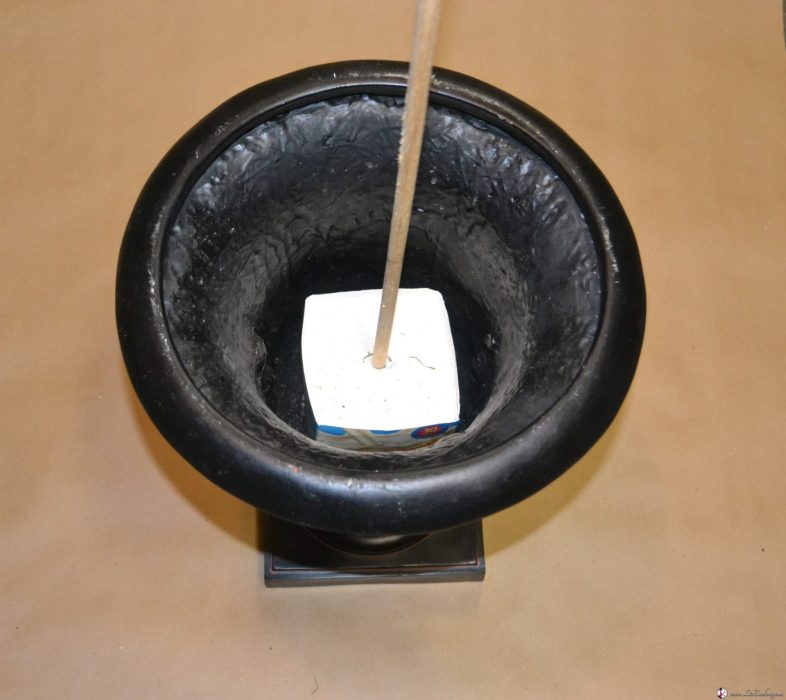
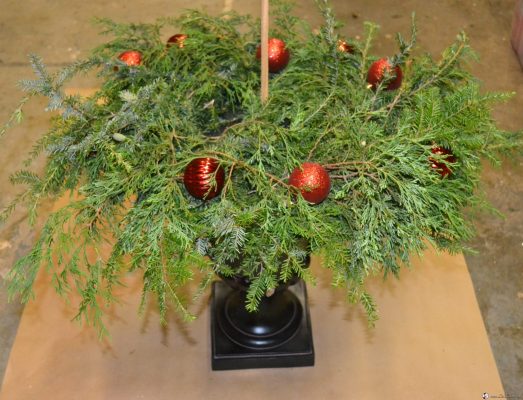
After plaster is hardened with dowel, place in center of urn/container. Next, slide the plywood disc over the dowel and let it sit on top of the urn/container. Next, position the faux or real evergreen wreath over the dowel and let it sit on top of the plywood disc.
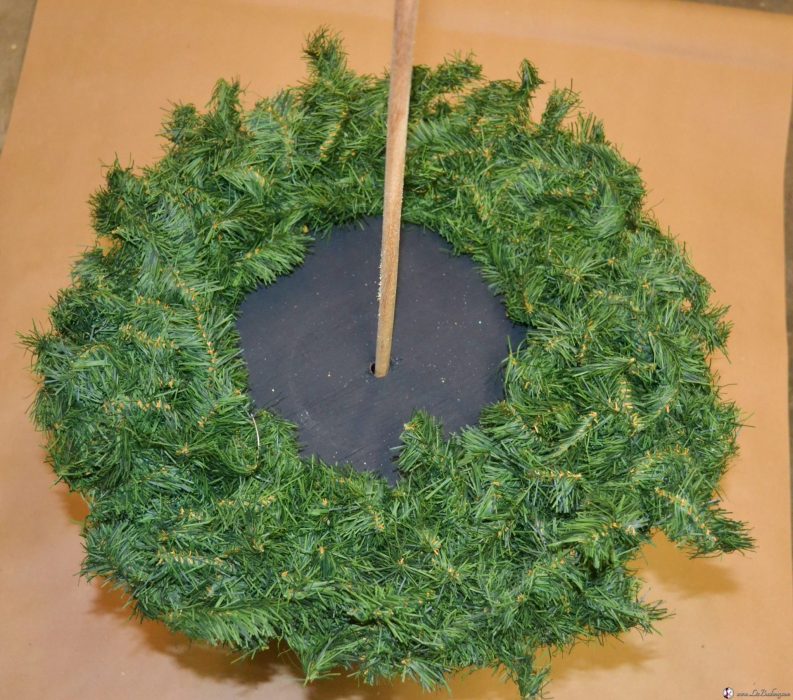
Before adding ornaments to dowel, add your decorative wreath whether it is faux or fresh.
Adding fresh greenery to the faux wreath will give your topiary life and movement. See photo below with fresh greenery that was inserted into the faux wreath. The fresh greenery will last through the season or you can pull it out to refresh as needed.
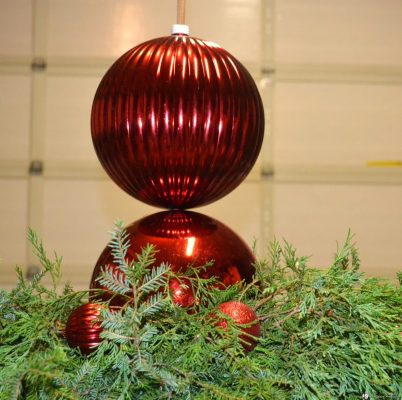
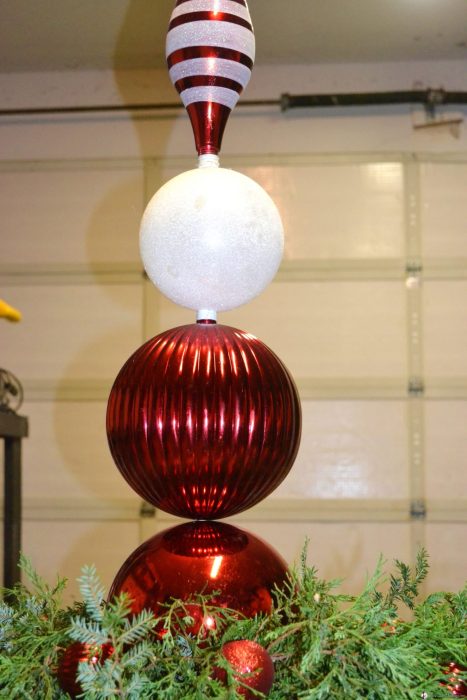
Position largest ornament over the dowel and let it rest on the wreath, thread corresponding sized ornaments over the dowel and end with the finial. If necessary to hold the finial in position, hot glue the finial to the ornament it sits upon.
Note: the white cap on the medium ornament was added for color and needed stability to support the top finial. It was the ornament cap that I removed to drill the opening hole.
I did have to hot glue the top finial to the small white ornament, so that is one unit for stability.

As a finishing touch, place regular ornaments around the base of the evergreen wreath. I like to cut fresh pine and other evergreen stems to add to my faux wreath to fill in as well as to make it look real. Yes the real evergreen will dry out after a few days, but if it is outside it does well. Replace the live greens if using inside to keep it fresh during the season.
This was featured on Good Day Tri-Cities with Morgan King & Whitney Carr as hosts of Good Day, with Liz sharing how to make the topiary.
Other Ideas You Might Like to Try:


Would you please tell me where I can purchase these large ornaments without having to spend so much money? Thank you.
I found mine at Lowe’s in the Christmas Department. You could look at Dollar Tree and other discount places. Hope that helps.