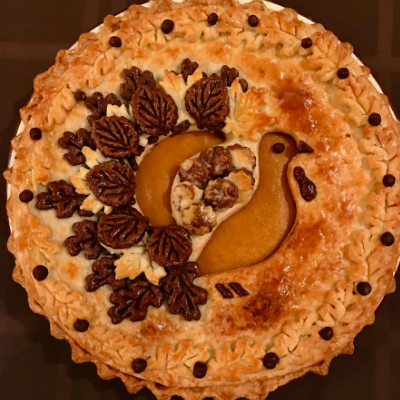
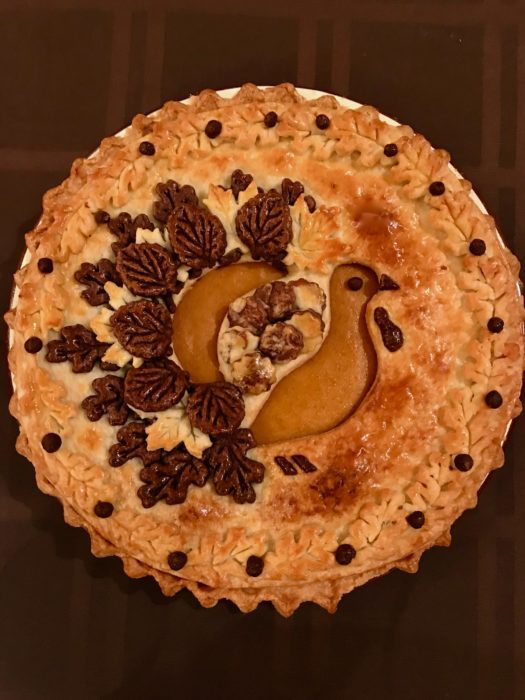
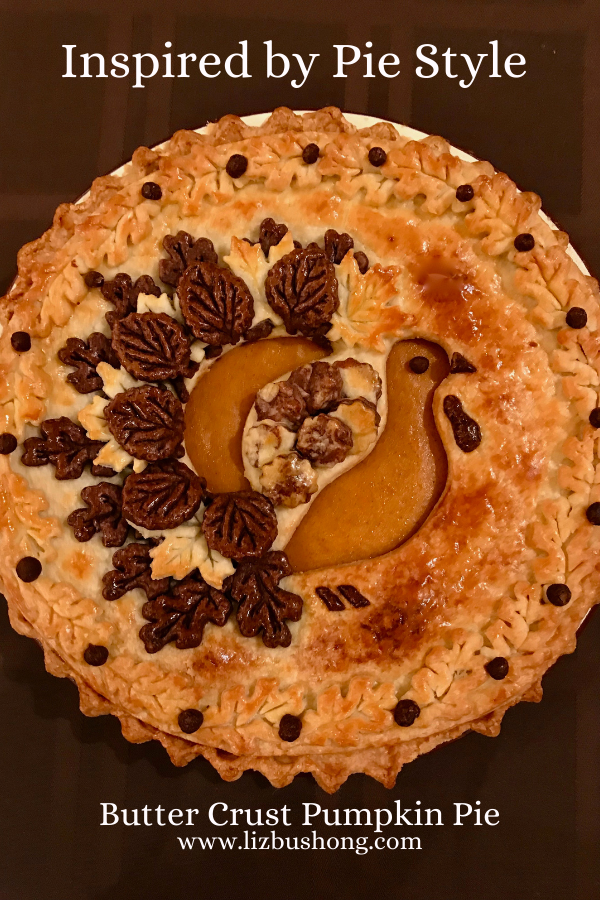
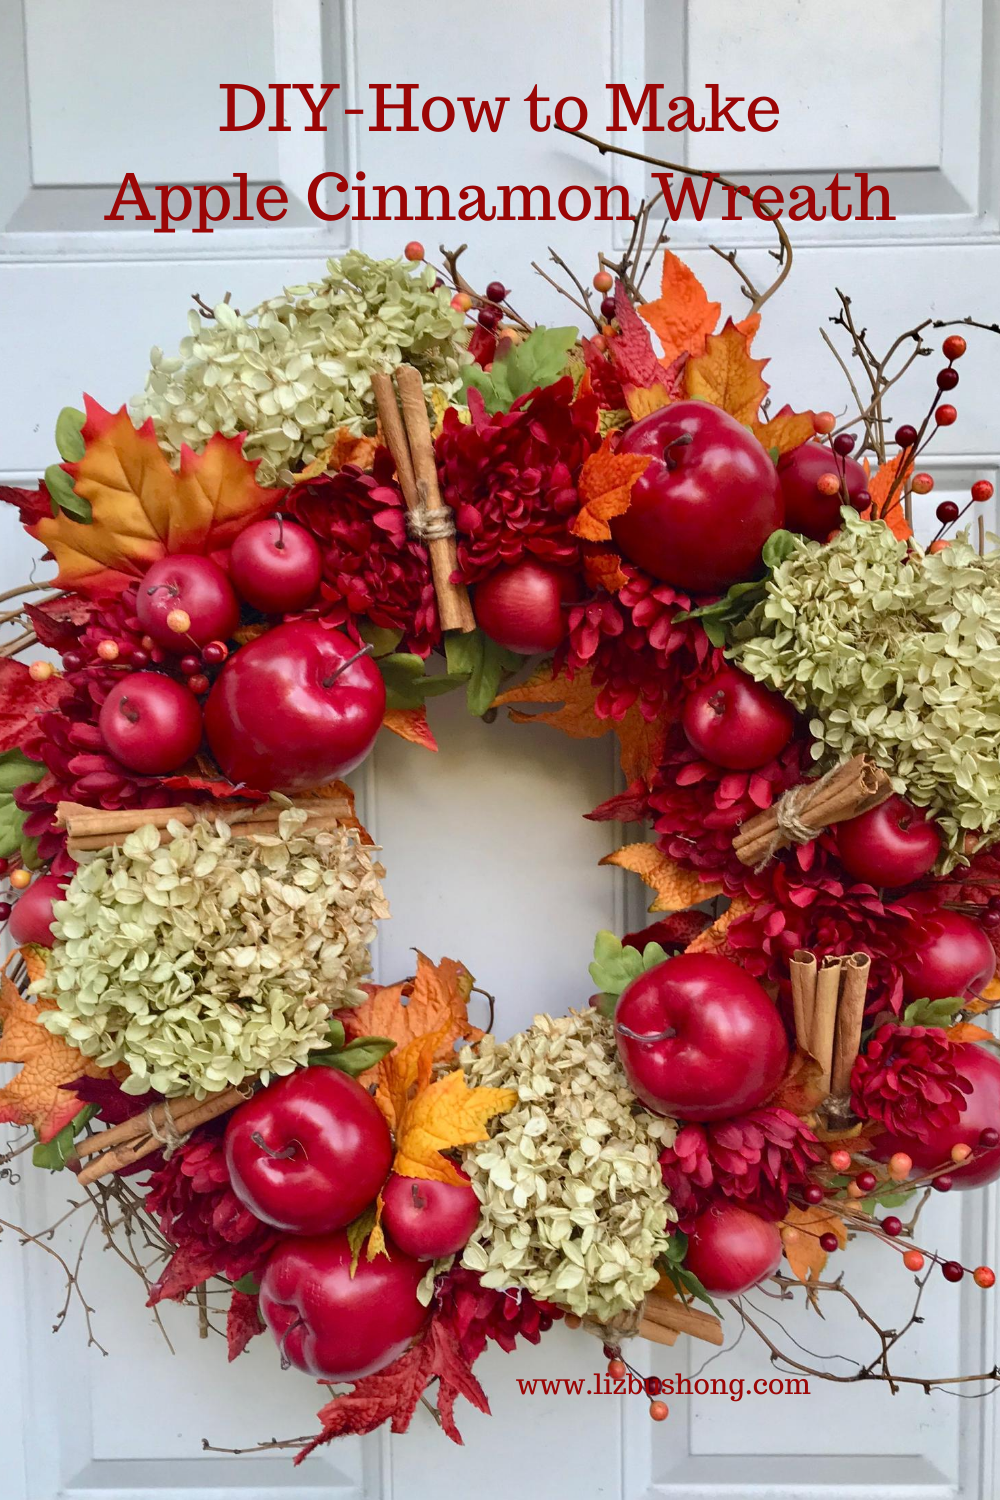
Thanksgiving would not be thanksgiving without pumpkin pie! Inspired pie design help create this show-stopping presentation. Rich butter pie crust makes perfect cut out details for the turkey shape with leaf tail feathers. The crust design is rolled out and cut into shapes, chilled and baked then added to the top of the partially baked pumpkin pie.
The pumpkin pie filling is our family favorite, pumpkin puree, sweetened condensed milk, eggs, ground cinnamon, ginger and nutmeg. This filling is perfect for creating a crust with details for the filling does not crack in the center. You will love this work of art.
Tips & Tools for Making this Artful Pie
One thing… it takes time to prepare but worth the effort. However, you can make this crust in stages. First, make two batches of butter pie crust and one recipe for chocolate butter crust. Recipe is made with chilled butter, flour, sugar and ice water. No vinegar, egg or shortening which makes the dough very pliable and easy to shape.
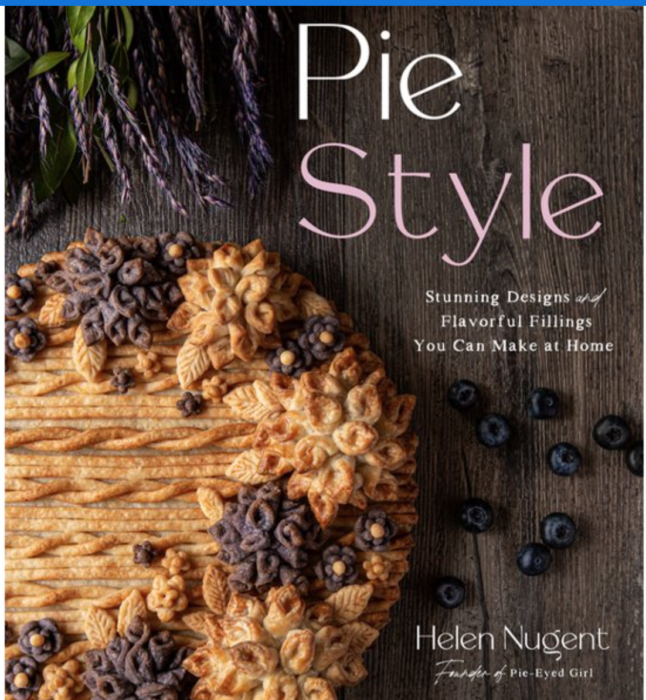
As I mentioned this recipe was inspired. The Pie Eyed Girl, Helen Nugent created this pretty pie recipe. Her new book “Pie Style” would make perfect Christmas gifts.
Tools Needed to Make this Pie
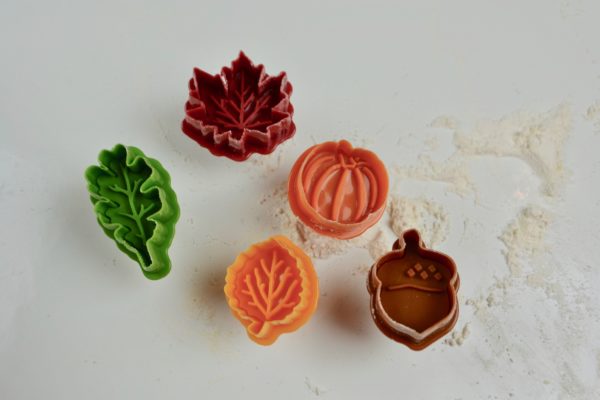
Assorted leaf cookie cutters, rolling pin, food processor, baking sheets and parchment paper, paring knife, pattern for turkey-page 127 in Pie Style Book.
I had purchased these spring loaded cutters from Williams & Sonoma but here is a good substitute. Tap on photo for link.
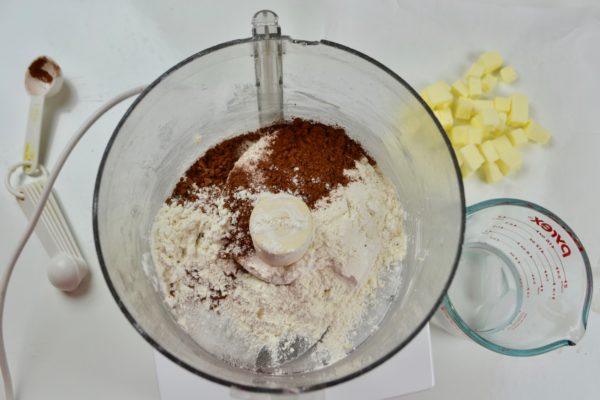
Food processor makes the dough come together quickly for pie crust. Photo above is the chocolate crust. Please order Pie Style to get entire instructions and recipe for crust.
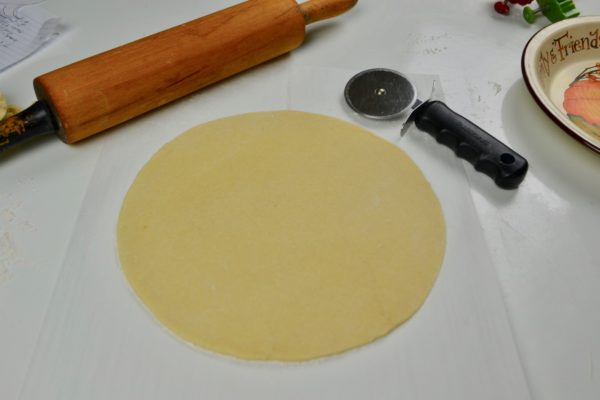
Rolling pin, pizza wheel and sharp paring knife for making the cut out crust. This is a 10″ pie plate, her recipe calls for 9″. This is the base for the detailed cut out work, which will be created, chilled, and baked.
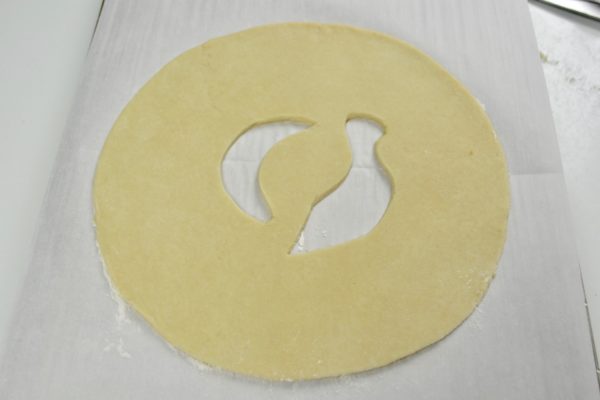
Template for the turkey is available in Pie Style book. My design is a bit larger than recommended for my pie plate was 10″ and not 9″.
Cutting the Leaves
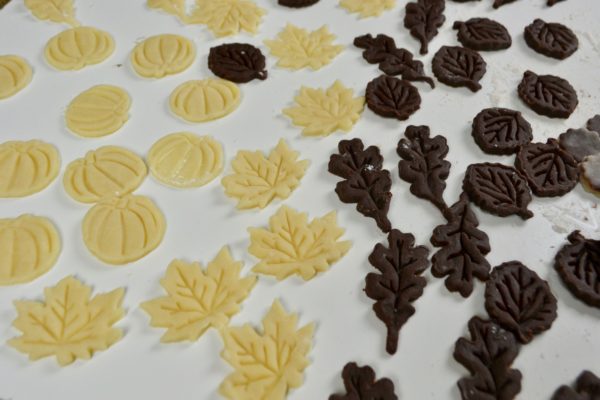
Cutting out all the shapes of the crust was fun. After cutting, they must be chilled for 15 minutes. My leaves are different shapes than Pie Style which makes it more my own.
Creating the Artful Design Top Crust
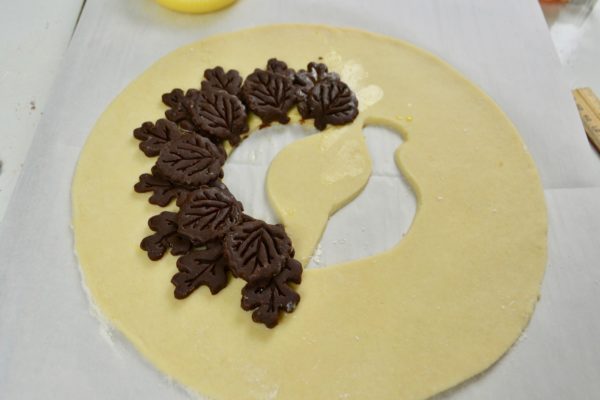
Egg wash helps adhere the leaves to the crust. Don’t you love the veins in the “leaf” tail feathers.
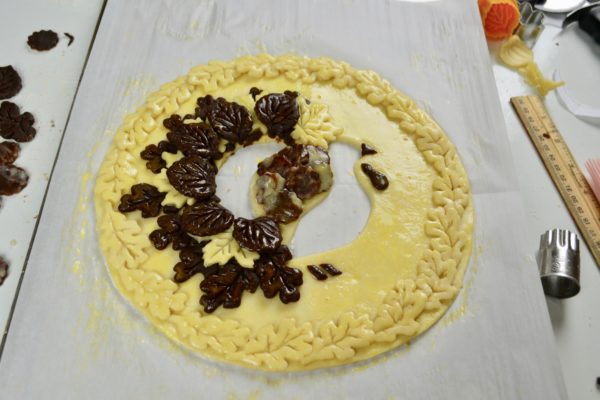
Parchment paper with finished design was placed on the back of a baking sheet and chilled for 15-20 minutes before baking. After the chill, crust was baked for 20 minutes. Allow crust to cool before adding to partially baked pumpkin pie.
Meanwhile, as the chill make the pumpkin pie filling. This recipe I can share. If you want to try using refrigerated pie crust you can but… it will not be as tasty as this all butter crust.
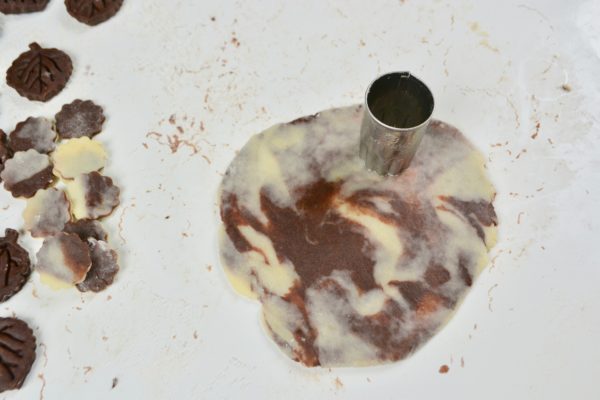
With left over pie crust, mix two doughs to create a marbled look. This was used for the body of the turkey. Make the beak, feet and wattle from chocolate dough.
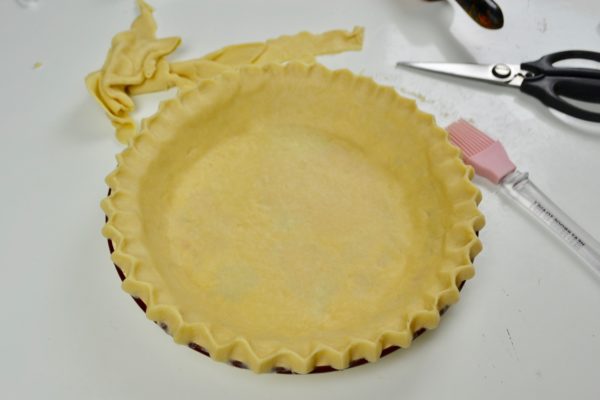
Here is the finished pie crust for my pumpkin pie filling. Be sure to brush the chilled crust with egg wash to help prevent a soggy bottom. After filling the crust, the pie was baked in 375 degrees for 40 minutes. Note: Cover the pie-edge with aluminum foil to prevent over browning.
After 40 minutes. The baked and cooled decorative top was placed on top of the partially baked filling then back to the oven for another 5-8 minutes.
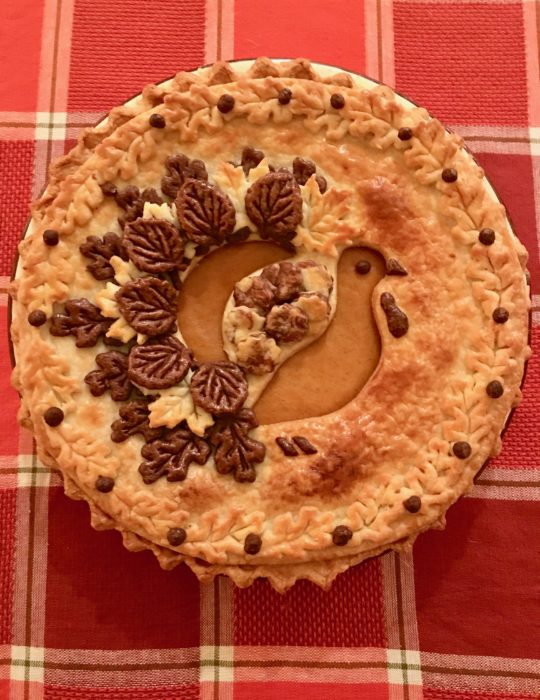
Hope you will purchase her book. The Pie Eyed Girl has many designs that you will love.
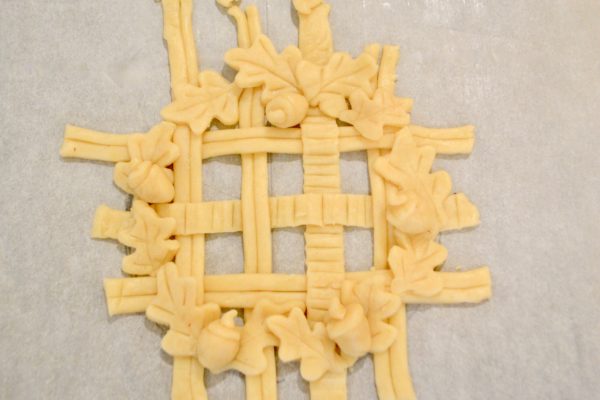
As a result, here is another crust I made from her great book. This crust is not baked in photo.
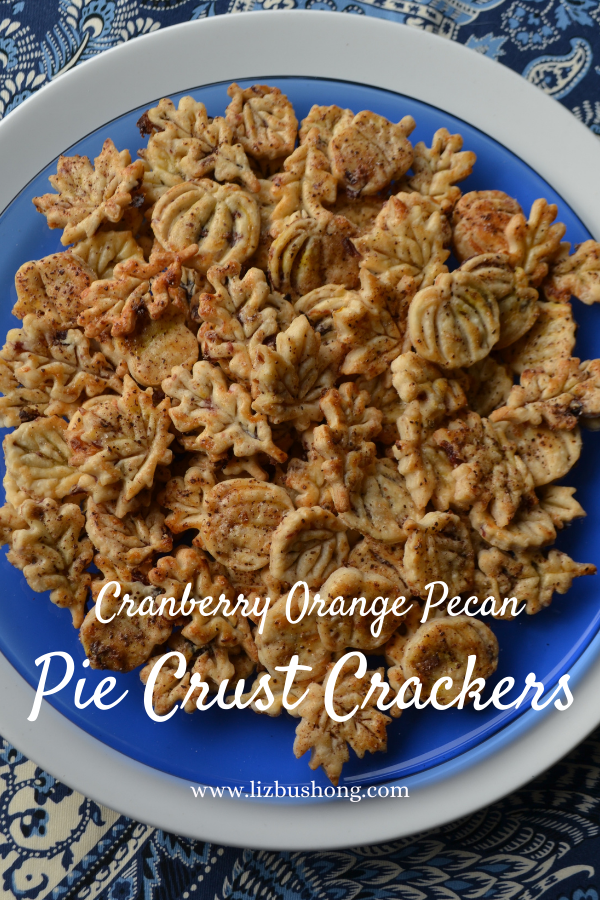
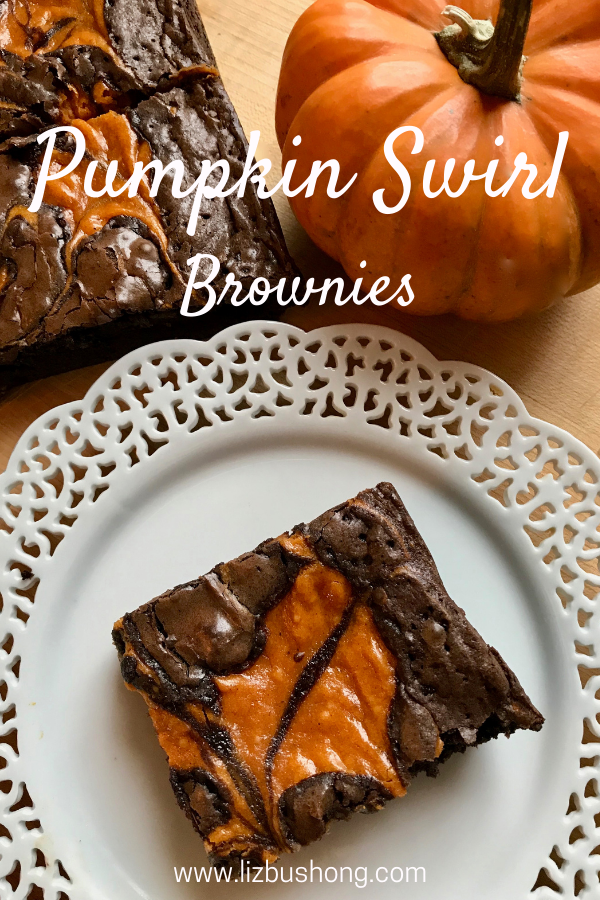
Other Ideas You Might Want to Try:
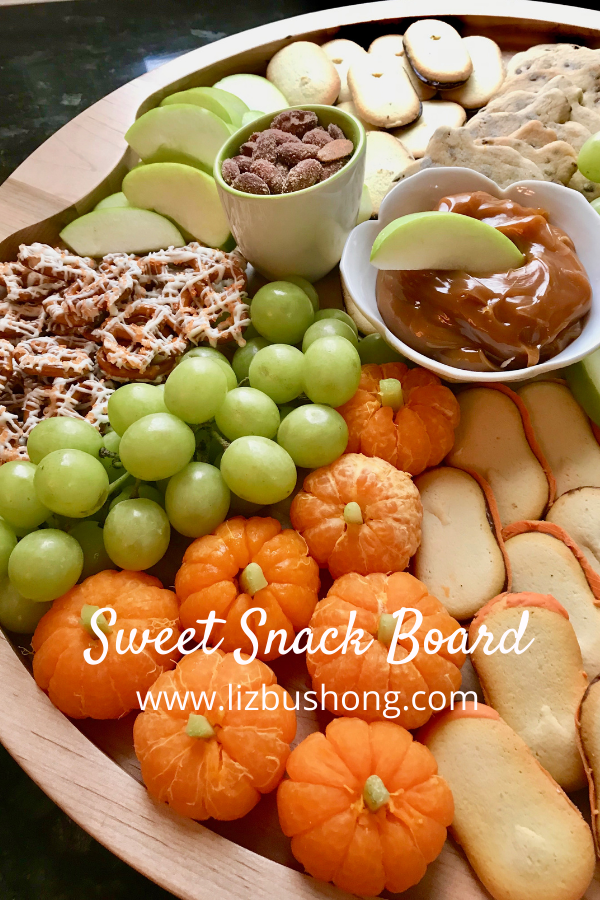
Fall Thanksgiving Snack Board

