Determined to make entertaining easy, preparing a charcuterie board has to be it. Once you have your cheeses, crackers, breads, deli meats, fruits and chocolates, and of course the board or platter, guests can serve themselves. Planning the board to look appetizing can be tricky, but hopefully with this idea you will not have any challenges.
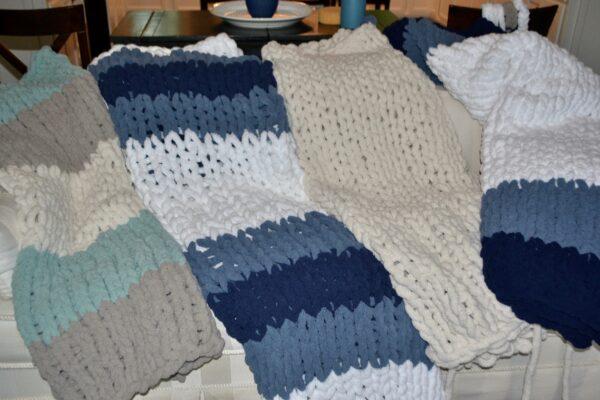
I was entertaining a few girlfriends this summer at my home. We meet once a year sometimes twice a year to catch up with each other as well as create something while we are together. Its a short Friday – Sunday morning celebration of friendship. This weekend we were “crafting” making the finger knit chunky blankets. I can’t wait to show you the results. If you haven’t tried making this blanket you will love it. It is very popular and the only tools you need are your fingers and chunky yarn. (See photo below).
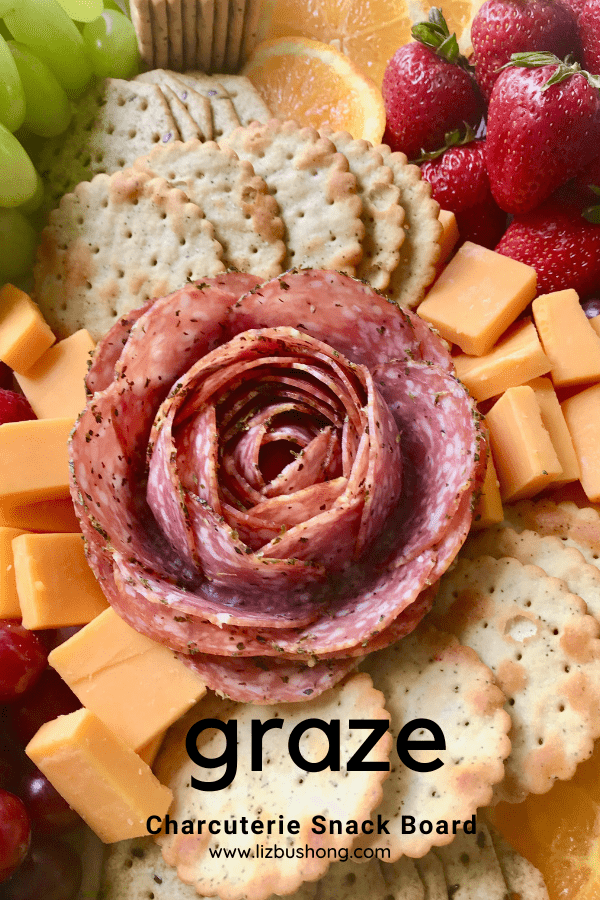
However, since we were gathered around the dining table and in the kitchen, I thought it would be easy on everyone, … aka me, if we snacked from a charcuterie. It was a huge success! Friday afternoon as my 3 girl friends arrived they were greeted with a snack board charcuterie. Fresh fruit ad berries, small bites of cheeses and assorted crackers was refreshing and easy to put together.
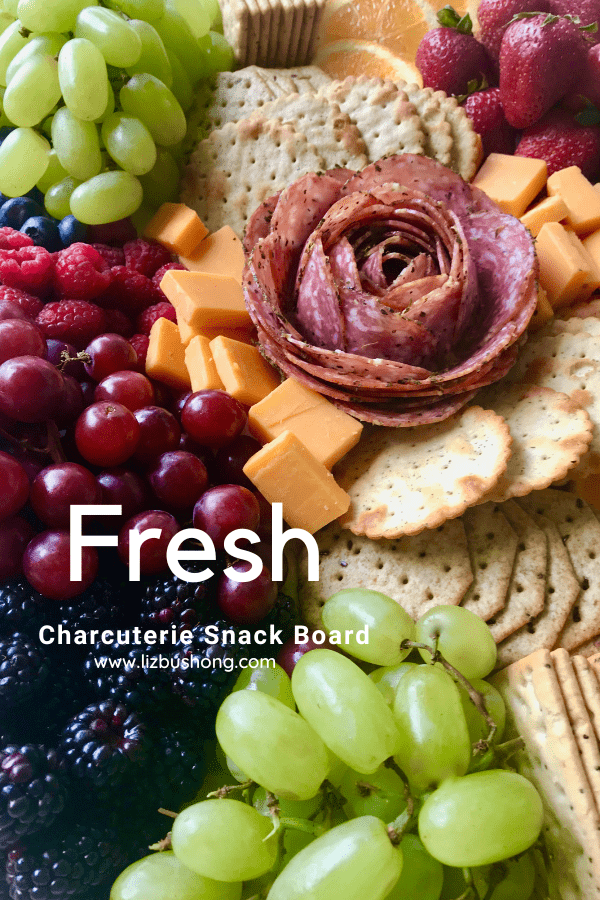
How to Make A Salami Rose
You can make different sizes depending on the size of the rim of wine glass or drinking glass. The wider the mouth or rim of the glass the more salami slices you will need to make a large rose, the smaller the glass rim the less salami slices you will need and will make smaller roses. You will have to experiment to see which size will work best for your space or vision on your charcuterie board.
Purchase: 15-18 thin slices of hard salami for 2-3″ glass rim for small rose. Purchase 25-30 slices for 3″ glass rim for large rose. The goal is to fold and stack salami halves all around the rim of glass until the center of the glass if full as this makes a full rose.
Fold: Start by folding a salami piece over the rim of a glass. You will have half of the salami inside the glass and half folded over the outside rim. Press each slice around the rim so it will adhere to the glass.
Layer: Layer each salami slice about 1/4 inch over each seam for first row, then alternate remaining rows pressing each slice tightly on the preceding slices.
Repeat: Continue to layer the salami over each seam until the inside of the glass rim is filled… no opening in the middle of the glass.
Flip: Once the opening is closed, flip the glass upside down on your charcuterie board in the position you want it, to reveal the beautiful rose. Remove the glass and make some more using smaller rimmed glasses if desired.
Suggested Sizes: one large and two small salami roses. Always work in uneven numbers for pretty presentation.
Let’s Make A Fruit & Cheese Charcuterie Snack Board
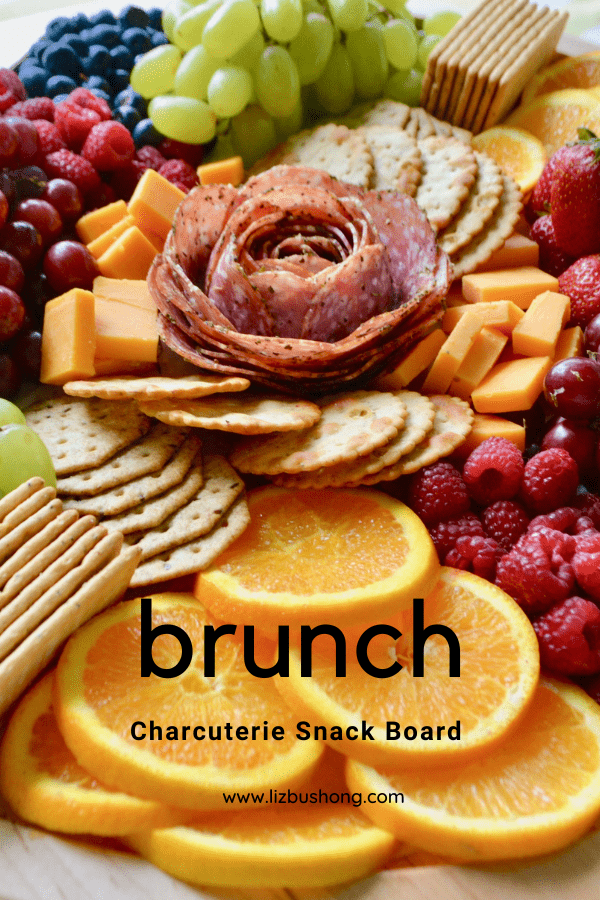
For this board, I used fresh organic blackberries, strawberries, raspberries, seedless green and red grapes, cheddar jack, extra sharp cheddar cheese, Swiss and Jalapeno Jack Cheese, and 3 different kinds of assorted shapes and sized crackers and the centerpiece star- Salami Rose. Crackers, were round, octagon, & long rectangles.
Begin with your board or tray. Check out the board I purchased from House of Hyacinth. But if you don’t want to purchase this 20″ board you can easily use a large round platter or make your own board. See my instructions for making your own board here.
Next gather all of your ingredients and lay them out on the table so you can see sizes and shapes/colors. I always line my board with freezer wrap or parchment paper to keep stains at bay. So be sure to do that if you are serving strawberries, raspberries, blackberries, tomatoes for they will surely stain your board.
Arrange the Charcuterie Board
1. Start in the center of your tray. Save a space for your salami rose if you choose to make one. Easiest garnish ever! Or other centerpiece, such as a bowl of mixed fruit, crackers, candies, nuts. Something that will make a Statement.
2. Next, arrange small 1″ x 1″ square cubes of cheese around the salami rose, angling the cheese in an attractive way, not just flat stacks but domino style layers. Add the round crackers next, then octagon and last the rectangular crackers. I stacked the crackers together then spread them onto the board. Although the rectangular crackers, which are Vinta by Dare, standing on their sides on the board.
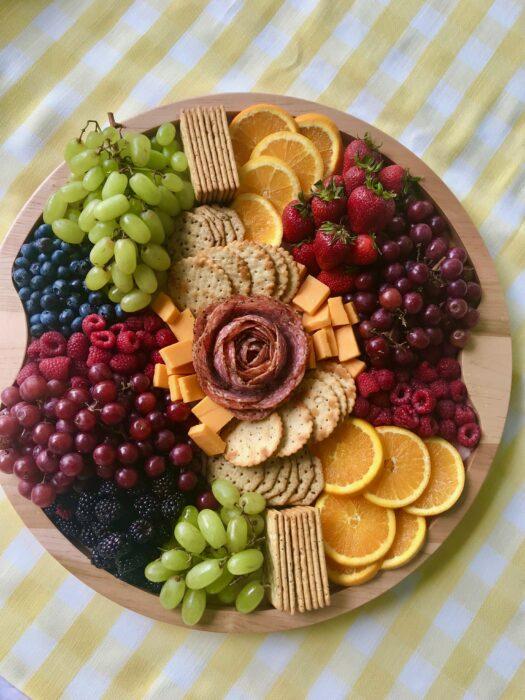
3. Last by not least, fill in around the edges, with grapes (placed opposite each other on the board, like a color wheel), sliced oranges, blackberries, raspberries, strawberries and blueberries. Try not to put your crackers to close to fruits with juice or stain. The rind on the oranges kept the juice contained.
4. Thats’ it! When the grazing is over, package up any leftover foods in containers and keep for the next tray. Like this one I served for Breakfast.
Making a Breakfast or Brunch Charcuterie
The next morning of our girls retreat, I made this brunch or breakfast charcuterie. The center piece is eggs with hash browns baked in a muffin silicone mold. What you can’t see or the cronuts or mini cinnamon swirled pastries. So for this board I made ahead before the girls came, the cruffins and egg muffins. Easy prep for next morning. Just warm up in microwave after you have arranged the fruit on the board. Remember to save the center for your egg cuffins.
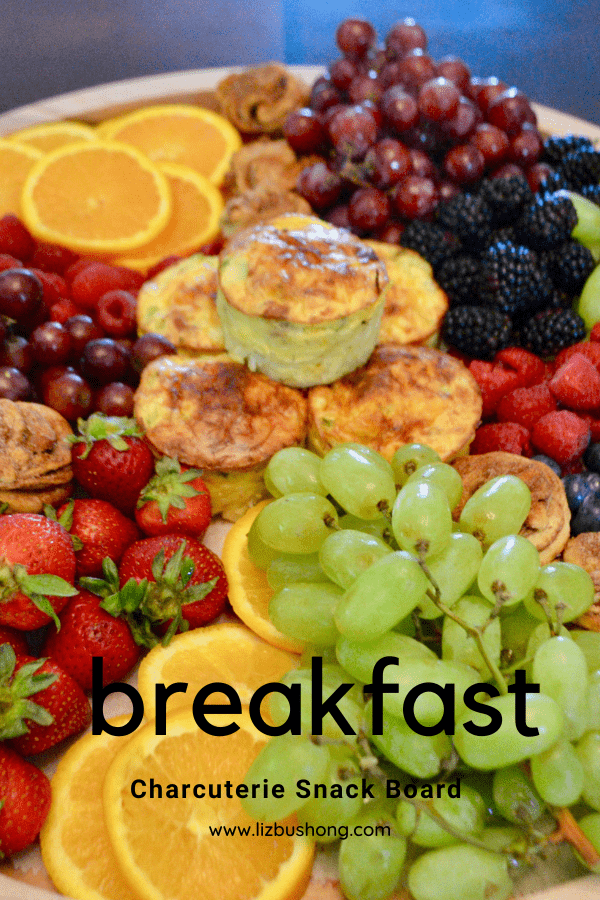
If you don’t want to make egg muffins, just make another salami rose or turn the board into a yogurt & toppings board.
Oh, I forgot to mention, that Friday night we had a Fajita Board. Home made salsa & guacamole, grilled red, yellow peppers & sweet onions, grilled fajita chicken breast strips, warm tortillas, Jalapeno ranch dressing, and more! See board and recipes here.
Saturday dinner we had Make Your Own Charcuteries
On the last evening we were together, we had a little contest. First, Second and Third place winners for the most creative mini charcuteries THEY created. We even had prizes.
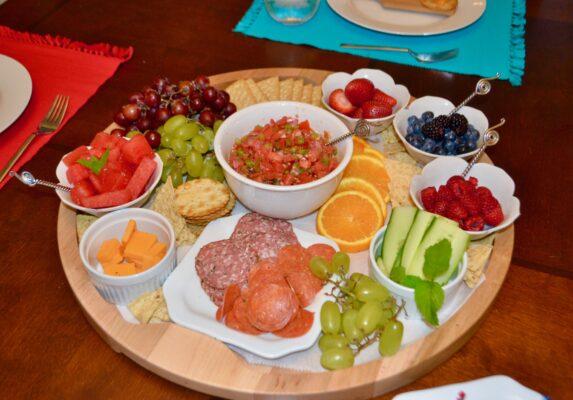
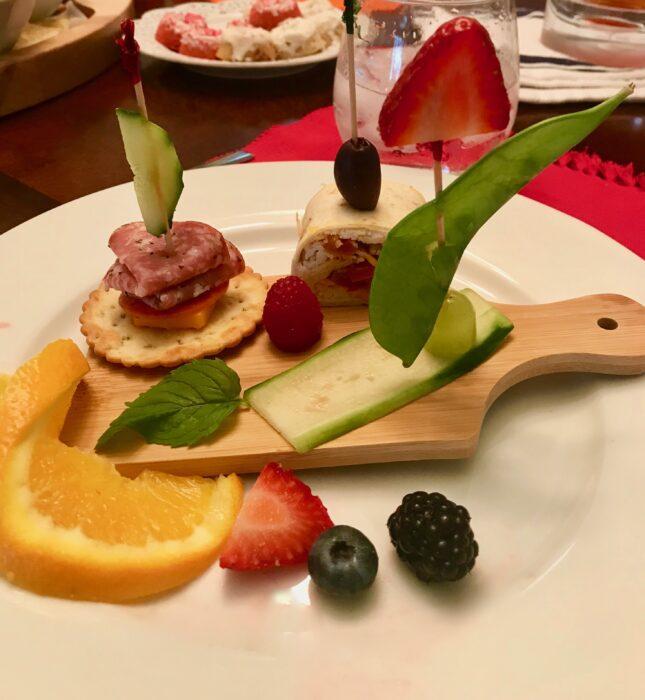
At every place-setting was a mini charcuterie board placed on a dinner plate. I had pulled out every thing I had in the refrigerator plus crackers, nuts, anything we had left over from the weekend of the Great Big Board. This time I used several small bowls to hold fruits and juicy things.
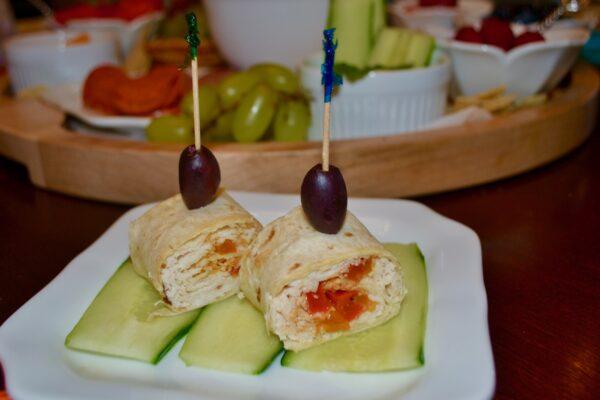
Then to get the creative juices flowing.. I created a couple of appetizers to prime the pump sort of speak. ha ha. The photo below is left over chicken fajitas rolled into tortilla and cut into 1″ slices.
Drumroll Please! Here’s he winners of the Make Your Own Mini Charcuterie
Third Place winner was this one. Julie- Mom of Olivia
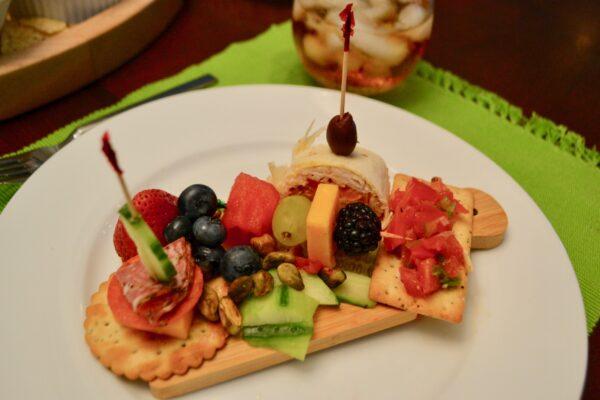
Second Place Winner- Olivia’s 12 years old- Notice the faces in the fruit.
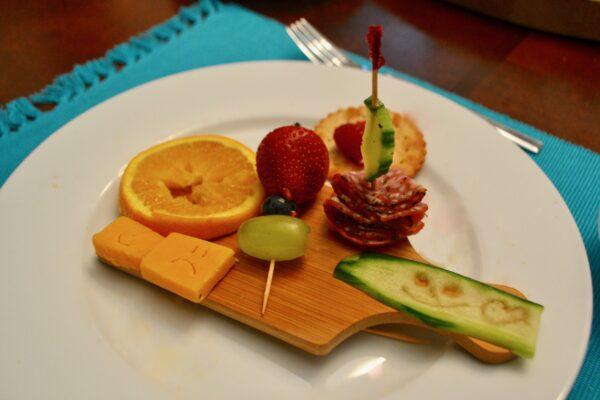
Grand Prize First Place- Mary- created a surfer. She was headed to the beach after our weekend. So cute!
We all had a great time together. Now between all the eating and picture taking, here’s the completed chunky knit blankets that were created. Mine in own the far right, which I had made before the weekend. But… the other three were made over the weekend. Olivias is the far left, three colors, Julie ( her mom) is next, blue, white, marine blue, and Mary’s is the solid cream.
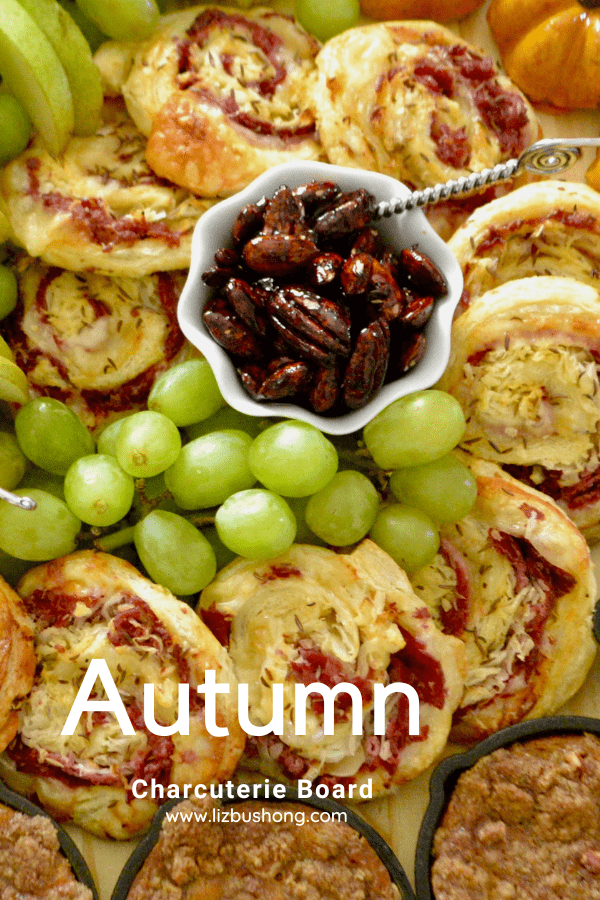
Other Ideas You Might Like to Try:
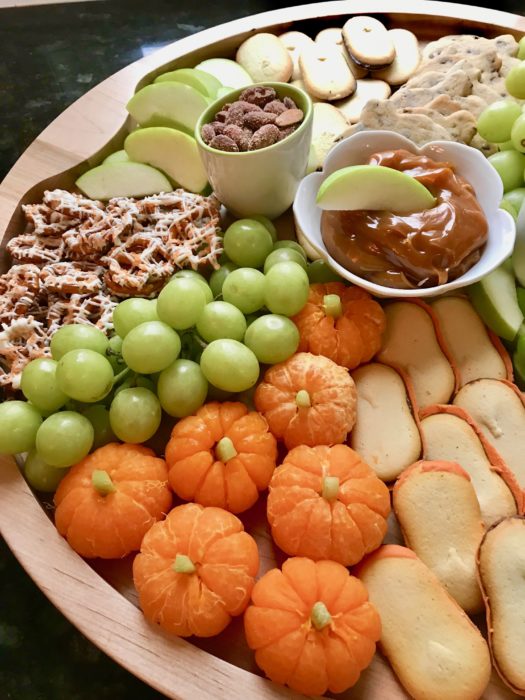
Fall Sweet Snack Board

First time I made a salami rose, it was so easy to do. I used a 2″ round glass and layered the 1/4″ thin salami slices around the rim building the salami around the edges of the glass rim until it is filled in the center. Once I flipped over the drinking glass I had a perfect rose! So fun but people were hesitant to eat it so I jumped in and took a slice, that broke the hesitation for then everyone began to eat it.